How to Create App for App Store: Expert Guide & Tips
Learn how to create app for app store with our expert guide. From idea validation to launch, get all the tips to succeed and maximize downloads.
Getting an app onto the App Store is a journey. It starts with an idea, but success comes from the groundwork you lay long before you write a single line of code. You need to validate your concept, poke around the market, and sketch out a basic wireframe. Only then should you decide whether to code it natively with Swift or use a no-code platform. This early planning is what separates the apps that thrive from those that just… exist.
From Great Idea to Viable App Blueprint
Every app you love started as a simple thought. But turning that spark into something people actually use requires a solid blueprint. Before you get lost in the technical weeds, you have to be absolutely certain your idea solves a real problem for real people. This isn't about code; it's about strategy.
The first mental hurdle is moving from "I have a cool idea" to "I have a solution." What's the pain point? Who feels it? Be brutally honest here. An app for tracking the watering schedules of exotic plants might be a fun project, but if the audience is tiny or the problem isn't that painful, it's going to be a tough sell.
Defining Your App's Core Purpose
To give your idea some real structure, you need to nail down its core value proposition. This is the one unique thing your app does better than anyone else.
The fitness app market, for example, is incredibly crowded. A new app can't just "track workouts" and expect to succeed. It needs a unique angle—maybe it uses AI to correct weightlifting form in real-time or turns workout plans for beginners into a game. Your job is to find that one thing that makes your app indispensable.
A great way to clarify this is to finish this sentence:
"My app helps [specific audience] to [solve a specific problem] by [providing a unique solution]."
Having a crystal-clear answer here is your north star. It will guide every single decision you make, from the features you build to how you market the final product.
Conducting Meaningful Market Research
Once you know what you're building and for whom, it’s time to see what you're up against. This goes way beyond a quick App Store search. Good research involves a few key steps:
- Competitor Analysis: Find at least three apps that are trying to solve the same problem. Dig into their strengths, weaknesses, user reviews, and pricing. What do people rave about? More importantly, what are the most common complaints? Those complaints are your golden opportunities.
- Audience Validation: Go talk to your potential users. Seriously. Run simple surveys or just have a few casual conversations. Confirm the problem is real for them. Ask what they're using now to solve it and what they wish it did better.
- Identifying Your Niche: You can't out-feature the big players from day one. Instead, find a small corner of the market you can completely own. If you’re building a project management app, don't go after everyone. Focus exclusively on freelancers or small creative agencies.
This research isn't a box-ticking exercise; it’s what saves you from wasting months building something nobody wants. If you're ready to get your project organized, our quickstart guide for iOS developers provides a practical framework to get everything set up.
Sketching Your First Wireframes
Okay, now it's time to make your idea visual. Wireframing is just creating super simple, low-fidelity sketches of your app's main screens. You don't need fancy tools—a pen and paper work just fine. The goal is simply to map out the user flow and basic functionality.
Focus on the most critical user journey. For an e-commerce app, that means mapping the path from finding a product to checking out. This simple exercise forces you to think about usability from the start and helps you spot potential roadblocks before they become expensive coding problems. Forget colors and fonts; this is all about layout and logic.
This planning phase is absolutely crucial. When the Apple App Store launched in 2008, it had just 500 apps. Today, it’s home to over 1.9 million. With developers submitting an average of 1,342 new apps every single day, a well-researched, validated idea is your best shot at making a real impact.
Alright, you've got your app blueprint sketched out. Now for the big question: how are you actually going to build this thing? This is one of those pivotal moments that will shape your budget, timeline, and how easy (or hard) it is to maintain your app down the road.
The good news is, there's a path for everyone, whether you're a seasoned developer or just someone with a killer idea and zero coding experience. You can go the traditional route with native coding, get to market faster with no-code platforms, or find a middle ground with hybrid frameworks. Each has its own set of trade-offs.
This visual guide can help you figure out which direction to head in first.
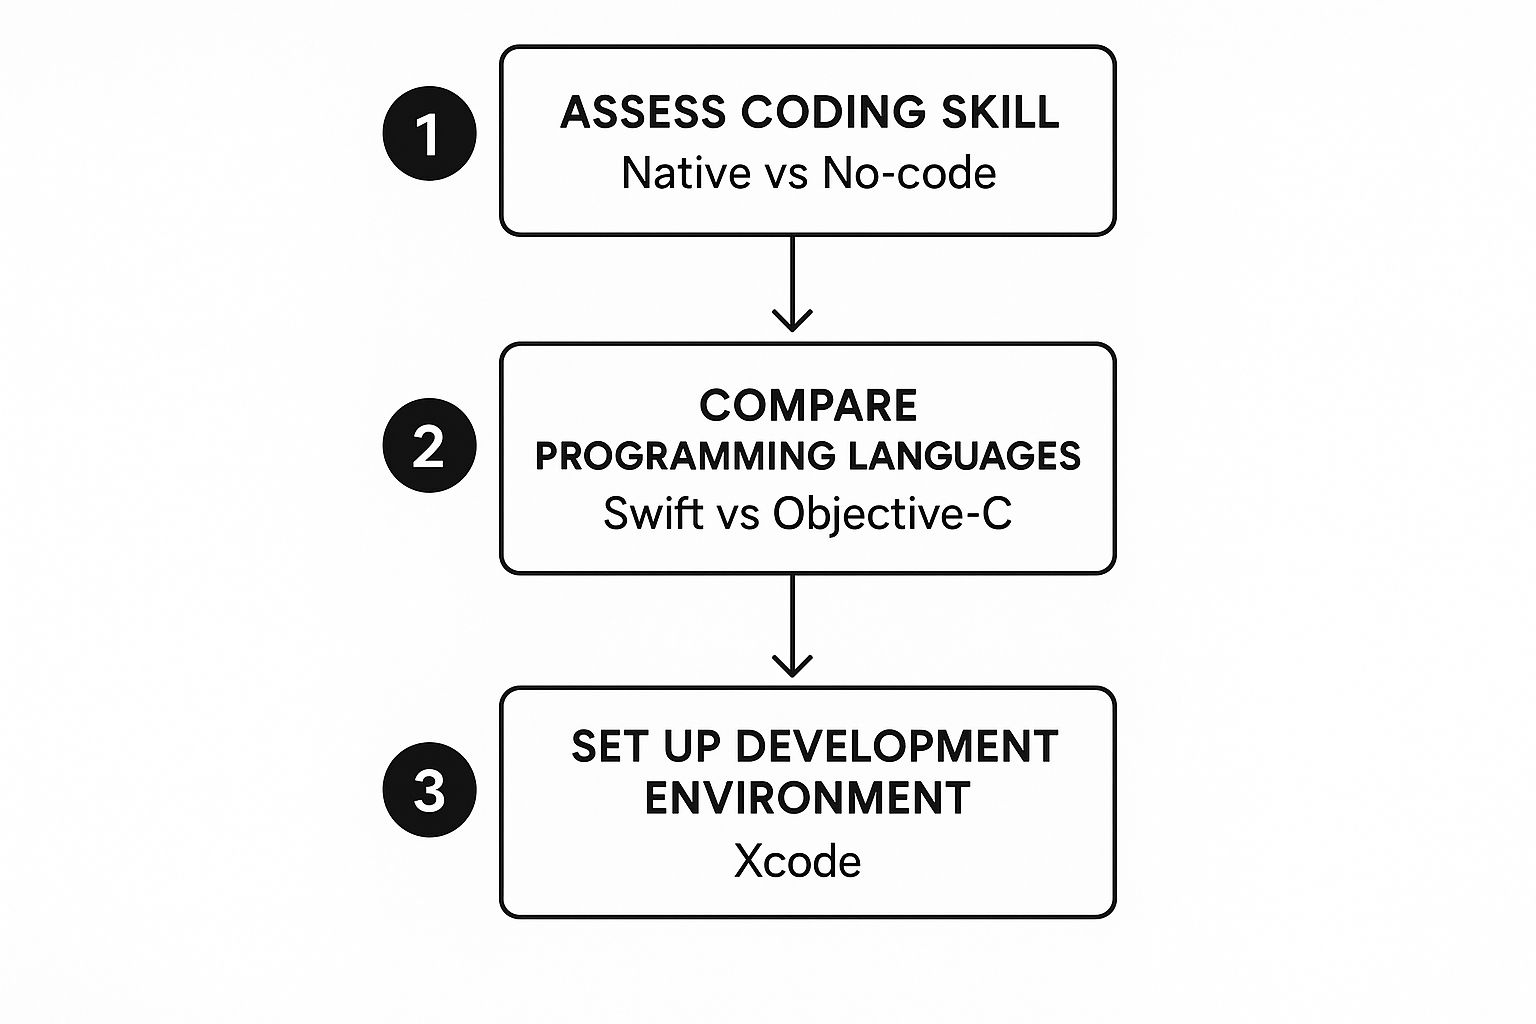
As you can see, the starting point is a frank look at your own technical skills. That simple assessment immediately points you toward either diving into code or exploring platforms that do the heavy lifting for you. From there, it’s all about picking the right tools for the job.
Native iOS Development: The Gold Standard
If you have coding chops or the budget to hire a dev team, going native is the premium option. There's really no substitute for it. Building with Apple's own tools gives you the absolute best performance, unrestricted access to device hardware like the camera and GPS, and an app that just feels right on an iPhone.
When you're building a native app, you'll be working with one of two languages:
- Swift: This is Apple's modern, powerful, and surprisingly intuitive language. It’s built for speed and safety, and frankly, it's just a pleasure to write. For any new app starting today, Swift is the way to go.
- Objective-C: The old guard of iOS development. You'll still find it powering a lot of legacy apps, but it's rarely the right choice for a new project. You might run into it if you're hired to maintain an older app, but otherwise, focus on Swift.
The heart of all native iOS development is Xcode, Apple's own integrated development environment (IDE). It's your all-in-one command center for writing code, designing your UI, squashing bugs, and getting your app ready for the App Store.
Your first real step into development is setting up your project in Xcode. This means creating the project file, defining its unique identifier (the Bundle ID), and configuring all the initial settings. It can seem a little intimidating at first, but it's just like laying the foundation before you start building the walls.
A pro tip is to integrate powerful SDKs early on. For instance, figuring out how to integrate an iOS SDK can save you a ton of headaches when it comes to implementing things like in-app purchases or subscription paywalls.
Exploring No-Code and Low-Code Alternatives
But what if you can't code? A few years ago, that would have been the end of the story. Not anymore. No-code and low-code platforms have completely changed the game, allowing non-technical founders to build and launch real, functional apps.
These tools use visual, drag-and-drop editors to piece your app together. Think of it like building with digital LEGOs—you're connecting pre-built blocks and defining how they work without ever typing a line of code.
App Development Approach Comparison
Choosing the right development path is a critical first step. This table breaks down the pros and cons of the most common approaches to help you decide which is the best fit for your project's goals, budget, and timeline.
| Factor | Native iOS (Swift/Xcode) | No-Code Platforms | Hybrid Frameworks |
|---|---|---|---|
| Performance | Highest possible, perfectly optimized for iOS. | Good, but can lag behind native performance. | Very good, but a slight step below native. |
| Flexibility | Unlimited. If you can dream it, you can build it. | Limited to the features the platform offers. | Highly flexible, but may have some native limitations. |
| Cost | High upfront development and maintenance costs. | Lower initial cost, often a monthly subscription. | Moderate development cost, single codebase saves money. |
| Speed | Slowest time-to-market due to complexity. | Fastest way to build an MVP or simple app. | Faster than native, slower than no-code. |
| Best For | Complex, performance-heavy, or feature-rich apps. | MVPs, internal tools, and non-technical founders. | Cross-platform apps where reaching both iOS & Android is key. |
Deciding to use a no-code tool isn't a cop-out; it's a smart, strategic move for many people. If you're a founder trying to get a Minimum Viable Product (MVP) out the door to test the waters, a platform like Bubble or Adalo can be a lifesaver. You can build, get feedback, and iterate quickly without sinking a fortune into development.
Just be realistic about the trade-offs. Highly custom features or unusual backend integrations might not be possible, and you're always tied to that platform's pricing and ecosystem.
Designing an Intuitive User Experience
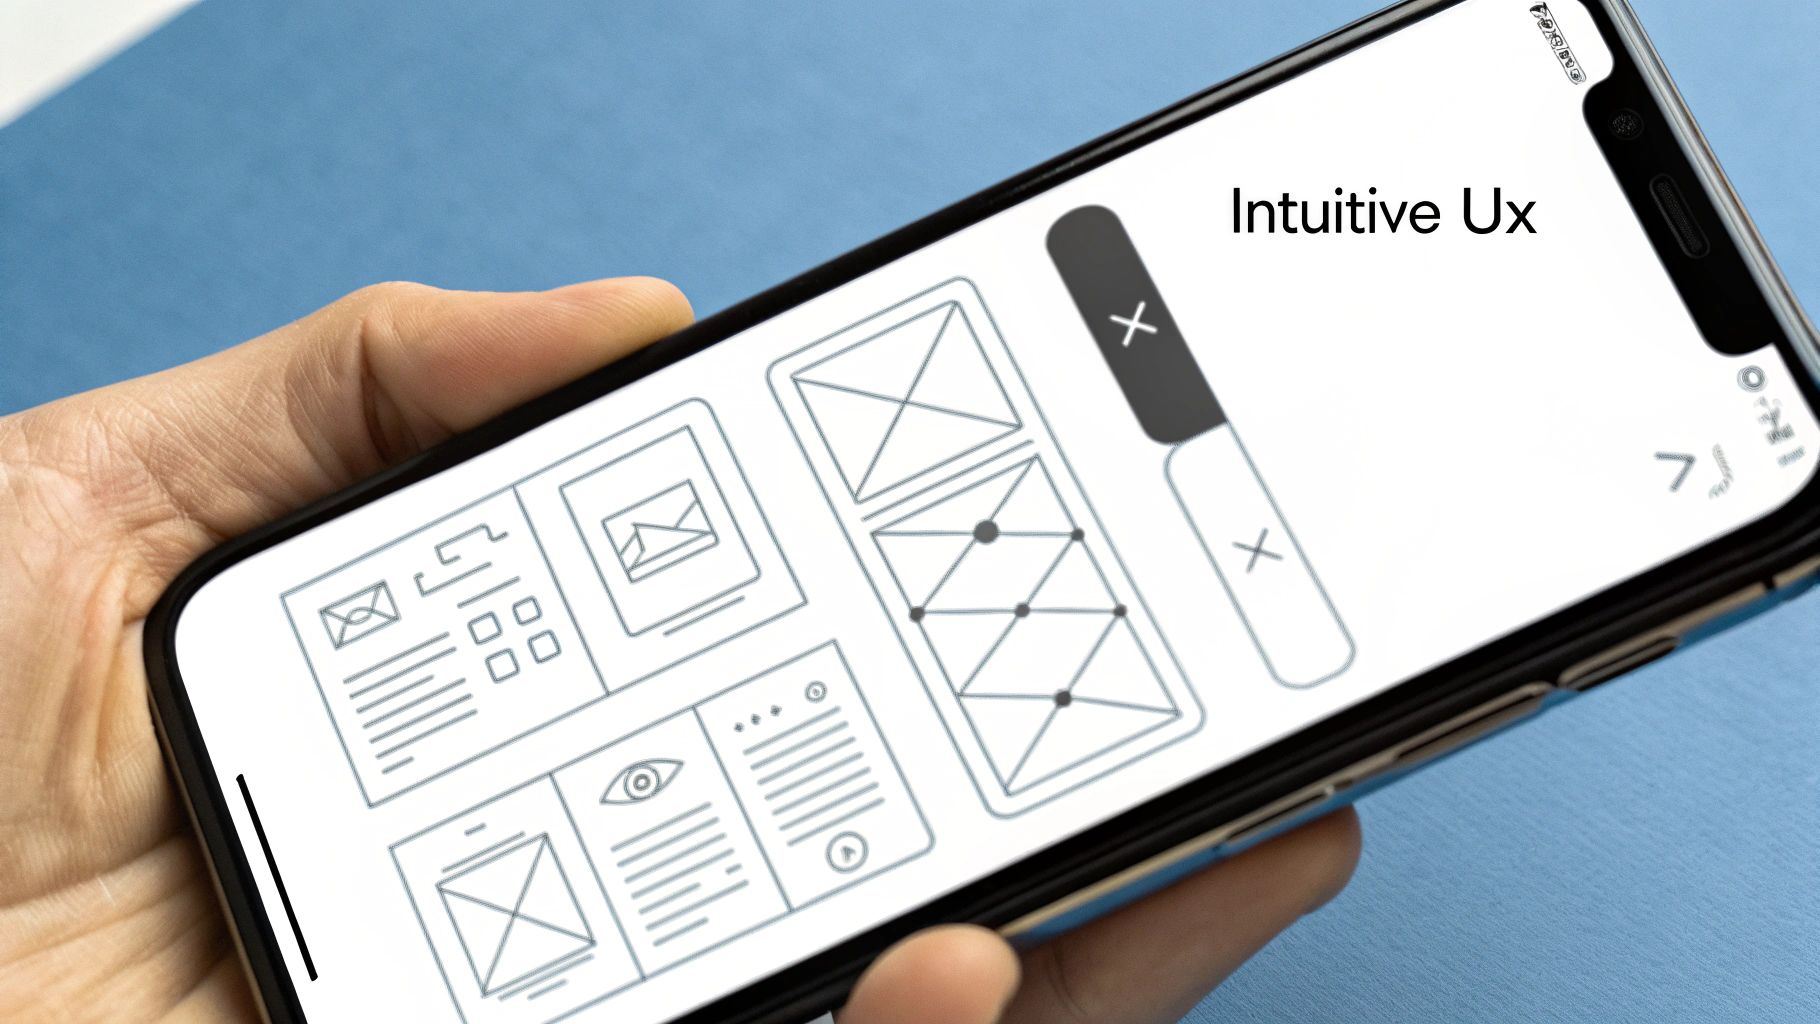
Let's get one thing straight: your app's design is not just about making it look pretty. It's the silent conversation between the user and the screen. A gorgeous app that's a nightmare to navigate will get deleted faster than you can say "bad review." This is where a deep focus on user experience (UX) and user interface (UI) becomes your secret weapon.
Great UX isn't about trendy animations or slick gradients. It's about making your app feel obvious. When a user opens it for the first time, they shouldn't need a manual. The path forward should feel natural and intuitive.
This whole process starts way before you even think about a color scheme. You begin by mapping out user flows—the exact steps someone takes to get something done, whether it's signing up, posting a photo, or buying a product. A smooth, logical flow feels invisible to the user. A clunky one is a dead end.
Embracing Apple’s Human Interface Guidelines
Want a shortcut to making your app feel like it belongs on an iPhone? Dive into Apple's Human Interface Guidelines (HIG). Think of these not as rigid rules, but as a proven playbook for building apps that iOS users instinctively understand.
Following the HIG means using standard navigation controls, system fonts, and recognizable icons where they make sense. For example, that familiar tab bar at the bottom of the screen? It's a standard for a reason. It lets users instantly know how to get around. Trying to reinvent the wheel here usually just confuses people and makes your app feel clunky and out of place.
Apple’s guidelines are your fastest path to earning user trust. When your app behaves in a predictable way, people don't have to waste brainpower learning a new system. They can just focus on what your app actually does for them.
You're essentially speaking the native language of the platform. By doing that, you tap into years of user habit, drastically cutting down the learning curve for your app. This is a massive part of getting those glowing reviews on the App Store.
Building a Clean and Purposeful UI
Once you’ve got your UX foundation solid and you're aligned with the HIG, you can zoom in on the UI—the visual layer people actually tap and swipe. This is everything from your buttons and sliders to your color choices and fonts. The golden rule? Keep it clean. Every single element on the screen should have a clear job to do.
Here are a few practical things to nail down:
- Color Palette: Pick a primary and secondary color that reflects your brand. Use color with purpose—to draw attention to a primary action button, signal success with a green checkmark, or show an error in red.
- Typography: Readability is non-negotiable. Apple's own font, San Francisco (SF), is a fantastic choice because it’s designed to be crisp and clear on every device. Use different font weights (like bold or regular) and sizes to create a visual hierarchy that guides the eye.
- Iconography: Don’t get clever with icons. A gear means settings. A magnifying glass means search. Stick to simple, universally understood symbols. And whatever style you choose, be consistent.
Real-World Examples of Great Design
Think about an app like Duolingo. Its design is brilliant, not just because it’s fun and colorful, but because it’s dead simple to use. The flow for completing a lesson is perfectly linear, your progress is always clear, and the buttons are big and obvious. Every screen has one clear goal.
Now, picture an app that throws a dozen buttons and stats on a single screen or uses weird, non-standard gestures. It's overwhelming. That’s friction, and it causes people to give up. Your job as a designer is to reduce cognitive load, not add to it. A well-designed app respects the user's time and attention by making every task feel effortless.
Mastering the App Store Submission Process
So, you've poured countless hours into designing, coding, and testing your app. It's finally real. Now comes the moment of truth: navigating the App Store submission process. This final hurdle can seem daunting, but once you break it down, it's a manageable series of steps that stand between you and millions of potential users.
Think of App Store Connect as your command center for everything that happens next. It’s the official web portal where you’ll manage your app's entire journey, from this first submission to every single update down the line. To even get in the door, you’ll need to be enrolled in the Apple Developer Program. It costs $99 per year, but it's the non-negotiable price of entry into Apple's ecosystem.
With your developer account ready, the real work begins. This isn't just about uploading a file; it's about strategically positioning your app to impress both Apple's reviewers and your future customers.
Preparing Your App's Product Page
Your App Store product page is essentially your digital storefront, and first impressions are everything. This is where you frame your app with compelling metadata—all the text and visuals that communicate your app's value and convince people to download it.
You'll need to have these core components nailed down:
- App Name: It has to be unique and can't be longer than 30 characters. Make it catchy, memorable, and give a hint about what your app actually does.
- Subtitle: This is a quick, punchy phrase that sits right under your app's name. It's your chance to expand on the name and highlight your primary value proposition.
- Keywords: You get a 100-character field for keywords that are crucial for App Store Optimization (ASO). This is how users find you via search. Separate them with commas, and don't waste precious space with plurals or the word "app."
- Description: Here’s your opportunity to tell a story. With up to 4,000 characters, you can dive deep into features, explain the benefits, and detail what makes your app stand out from the crowd.
Your product page isn’t just a form to fill out—it’s a marketing asset. Every element, from the name to the last keyword, should be crafted to persuade someone to tap that "Get" button.
This is where a deep understanding of your audience really shines. Building for the iOS ecosystem means you're tapping into a highly engaged user base that is willing to spend money. The App Store's revenue dominance is stunning; consumer spending hit $89.3 billion, which is more than double Google Play’s estimated $40 billion, even though Android has a much larger global market share. This stat, covered in this deep dive into App Store statistics, shows just how much iOS users value quality experiences.
Crafting Compelling Visuals
Let's be honest: people judge a book by its cover, and they judge an app by its screenshots. Generic, uninspired visuals are a quick way to get scrolled past.
Your screenshots need to do more than just show your UI; they need to tell a story. Add short, punchy captions to highlight key features and their benefits. Show your app in action, solving the very problem it was designed to fix. You can upload up to ten screenshots, so use every slot to your advantage.
Even better is an app preview video. This optional 30-second clip can bring your app to life in a way static images never could. It's the perfect tool for demonstrating a dynamic game or a complex workflow, giving users a genuine feel for the experience before they download.
Navigating the Review Guidelines
Once your product page is polished and your visuals are ready, it's time to meet the gatekeepers: Apple's review team. Their mission is to ensure every app on the store is safe, reliable, and offers a high-quality experience. Getting familiar with the App Store Review Guidelines isn't just a good idea—it's absolutely critical for a smooth approval.
Here are a few of the most common—and easily avoidable—reasons for rejection:
- Bugs and Crashes: Your app has to be a finished product. Submitting something that's buggy or incomplete is a one-way ticket to rejection. Test it relentlessly on different devices and iOS versions.
- Incomplete Information: If your app requires a user to sign in, you must provide Apple with a demo account (username and password). If they can't get in, they can't review it. Simple as that.
- Privacy Violations: Transparency is key. Your app needs a privacy policy URL, and you have to be crystal clear about why you need access to user data like location, photos, or contacts.
- In-App Purchases: If you plan to monetize, make sure the implementation is flawless. For subscription-based apps, it’s smart to learn about enabling in-app purchases early on to sidestep any last-minute roadblocks.
After you've uploaded your build through Xcode and meticulously filled out all the required fields in App Store Connect, you’ll finally hit that "Submit for Review" button. The review itself usually takes about 24-48 hours, but it can stretch longer for more complex apps. If you do get rejected, don't panic. Apple will give you specific feedback, and you can communicate with them through the Resolution Center to sort out the issues and resubmit.
Driving Growth After Your App Is Live
That moment you finally hit "Release" in App Store Connect is incredible. It’s a huge milestone, but it’s really just the starting line. Now, the real race begins. The focus has to shift from pure development to a growth mindset, where you’re constantly marketing, listening to feedback, and improving your app to keep it from getting buried.
Without a plan for what comes next, even the most polished app can get lost in the sea of competition. Sure, there are over 1.56 billion iPhones out there—a massive potential audience. But here's a sobering reality check: a shocking 1,179,341 apps have never gotten a single user rating. This is a clear sign that launching is one thing, but gaining traction is another beast entirely, as highlighted in this breakdown of App Store statistics.
Mastering App Store Optimization (ASO)
Your App Store page isn't a "set it and forget it" asset. It’s a dynamic marketing tool that needs ongoing attention, and that's where App Store Optimization (ASO) comes in. Think of it as SEO, but for your app. It’s all about continually tweaking your listing to get seen and drive downloads.
Start by looking at your keywords. Are you actually ranking for the terms you initially targeted? Use a tool like Sensor Tower or App Annie to see how you're doing and find new opportunities your competitors might be ranking for. Remember, you only get 100 characters for that keyword field, so every single one has to pull its weight.
Don’t just stop at text. Your visuals are what really sell your app. Run some tests on your screenshots. Does a screenshot showing a key benefit get more downloads than one just showing a generic UI screen? You’ll never know for sure unless you test, measure the results, and iterate based on what the data tells you.
Gathering and Acting on User Feedback
The people using your app are your single most valuable source of truth. Their reviews, emails, and social media comments are a goldmine of bug reports, feature ideas, and general sentiment. Ignoring them is one of the fastest ways to let your app die on the vine.
Make it dead simple for users to get in touch. A clear "Send Feedback" or "Contact Support" button right inside the app is a must. And when they do reach out, be responsive. Even a quick automated reply confirming you got their message can make a huge difference in how they perceive your brand.
User reviews are so much more than a star rating; they're a direct line to your community. A pattern of one-star reviews all complaining about the same crash isn't just criticism—it's an urgent, high-priority bug report that you need to fix immediately.
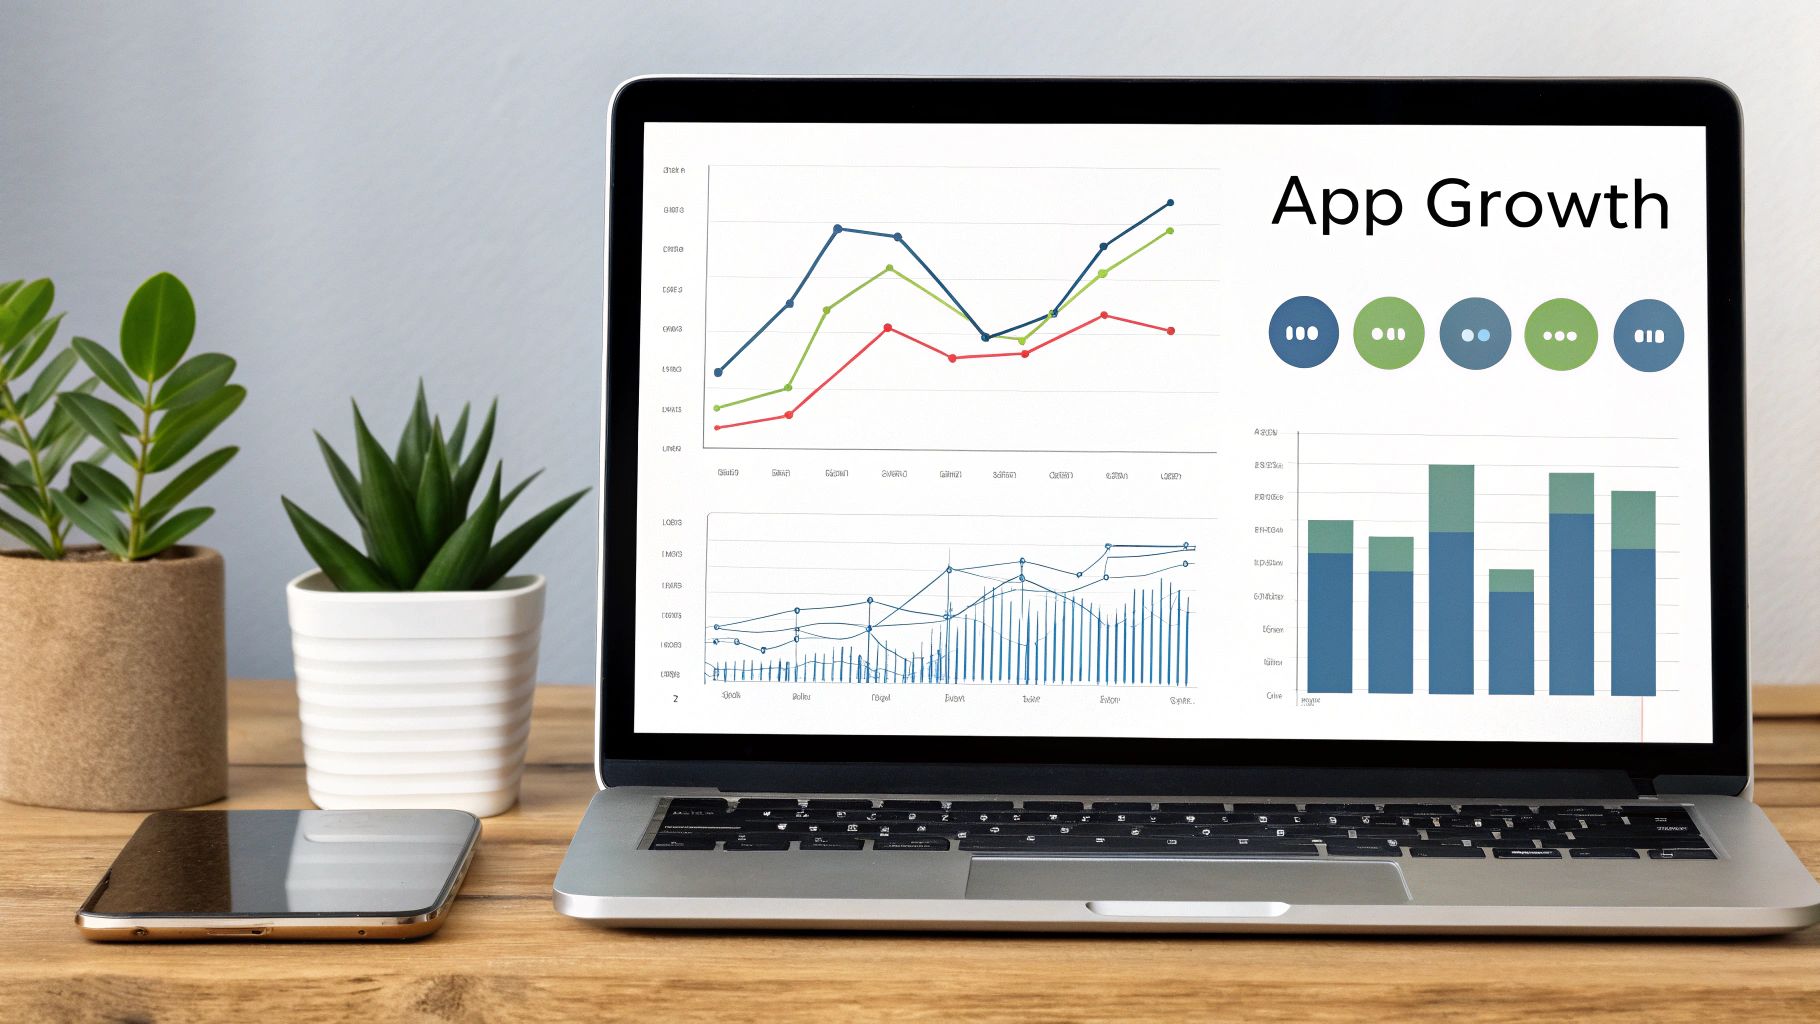
Leveraging App Analytics for Smart Decisions
App Store Connect hands you a treasure trove of analytics that reveal exactly how people find and interact with your app. These numbers should become the bedrock of your growth strategy, allowing you to make decisions based on data, not guesswork.
Keep a close eye on these key metrics:
- Impressions: This tells you how many times your app's icon was seen in search results or on the store. If this number is low, your ASO probably needs a tune-up.
- Product Page Views: How many people actually clicked to see your app's full page. A huge drop-off from impressions to views could mean your icon or subtitle isn't grabbing attention.
- Conversion Rate: The percentage of people who downloaded your app after viewing its page. This is the ultimate test of your screenshots, description, and preview video.
- Crash Reports: An essential health check. If your crash rate is climbing, that's a major red flag that needs to be your top priority for the next update.
By actively monitoring these analytics, you can start spotting trends and identifying weaknesses. Maybe updating your screenshots caused a dip in your conversion rate, or perhaps a new marketing campaign is driving a ton of impressions from a specific country. This data empowers you to double down on what works and quickly fix what doesn't, creating a sustainable cycle of growth.
Common App Development Questions
So, you're thinking about building an iOS app. Awesome. But I'm guessing your head is already swimming with questions. What's this actually going to cost? How long will it take? What if Apple just rejects it? These are the exact questions every aspiring app creator asks, so let's get you some straight answers based on real-world experience.
How Much Does it Really Cost to Build an App?
Let's get the big one out of the way first. The most common question I hear is, "What's the price tag?" The honest answer is that there's no single price. An app isn't a product you pick off a shelf; its cost is tied directly to what it does.
Think of it like building a house. A simple one-bedroom cabin is going to cost a lot less than a multi-story mansion with a home theater and a pool. The same goes for apps. A basic utility app built with a no-code tool might only set you back a few thousand dollars. But if you're dreaming up a complex, custom-built social network with a sophisticated backend, you're easily looking at a six-figure investment.
To give you a clearer picture, here's a general breakdown of what you can expect.
Estimated App Development Costs and Timelines
This table lays out some ballpark figures. It’s a starting point to help you frame your budget and timeline based on the complexity of your vision.
| App Complexity | Estimated Cost Range | Estimated Timeline |
|---|---|---|
| Simple App | $5,000 - $25,000 | 1-3 Months |
| Medium Complexity | $25,000 - $100,000 | 3-6 Months |
| Complex App | $100,000+ | 6+ Months |
Remember, these are just estimates. A scrappy founder coding on nights and weekends will have a completely different cost structure than a venture-backed company hiring a top-tier development agency. My best advice? Get multiple quotes and have a crystal-clear scope of work defined before anyone writes a single line of code. It'll save you headaches and money down the road.
Do I Have to Be a Coding Genius to Make an App?
This is another huge concern, especially for founders with great ideas but no technical background. Do you really need to be an expert in Swift to even get started?
Thankfully, no. While knowing how to code is definitely the most powerful way to build an iOS app, it's far from the only path anymore.
The rise of no-code platforms has completely changed the game. These tools are fantastic for quickly building a Minimum Viable Product (MVP) to test your concept in the real world. You can get a functional app into users' hands without sinking a ton of cash into custom development right away.
Here's the truth: the most important thing isn't knowing a specific programming language. It's having an obsessive understanding of the problem you're solving for your users and a clear vision for how your app will solve it. You can always hire for technical skills, but you can't hire a great concept.
Is Getting Approved by Apple Really That Hard?
Finally, there's the big boss battle: getting past Apple's review team. The stories you've heard probably make it sound like a mysterious, impossible process. While Apple is definitely thorough, they aren't trying to be difficult just for the sake of it. Their main goal is to protect users and ensure that every app on the App Store is safe, works correctly, and offers a good experience.
From what I've seen, most rejections are for totally avoidable reasons. Here are the big ones:
- It's Just Plain Buggy: If your app crashes or is full of glitches, it’s an instant rejection. Don't submit something that isn't finished.
- Missing Info: A classic rookie mistake is forgetting to provide a demo account for an app that requires a login. The reviewer can't test what they can't access.
- Ignoring the Rules: Apple publishes detailed Human Interface Guidelines. If your app ignores them and feels out of place on an iPhone, it’s likely to get flagged.
Take the time to read the guidelines, test every corner of your app, and you'll find the approval process is much smoother than you think.
Ready to take the guesswork out of your app's monetization strategy? Nuxie provides an AI-powered paywall studio that lets you design, target, and ship high-converting paywalls in minutes, no app updates required. Integrate our SDK in about five minutes and start growing your subscription revenue today. Explore what's possible at https://nuxie.io.