Your Guide to iOS In App Purchasing
Master iOS in app purchasing with this complete developer guide. Learn StoreKit setup, receipt validation, and monetization strategies to boost app revenue.
When you hear "iOS in-app purchasing," you're really talking about the engine that drives the modern App Store economy. It's the framework Apple provides for developers to sell digital goods—from special features to ongoing content—directly inside their apps. For most developers, this isn't just a feature; it's their primary monetization engine.
Understanding the In-App Purchase Ecosystem
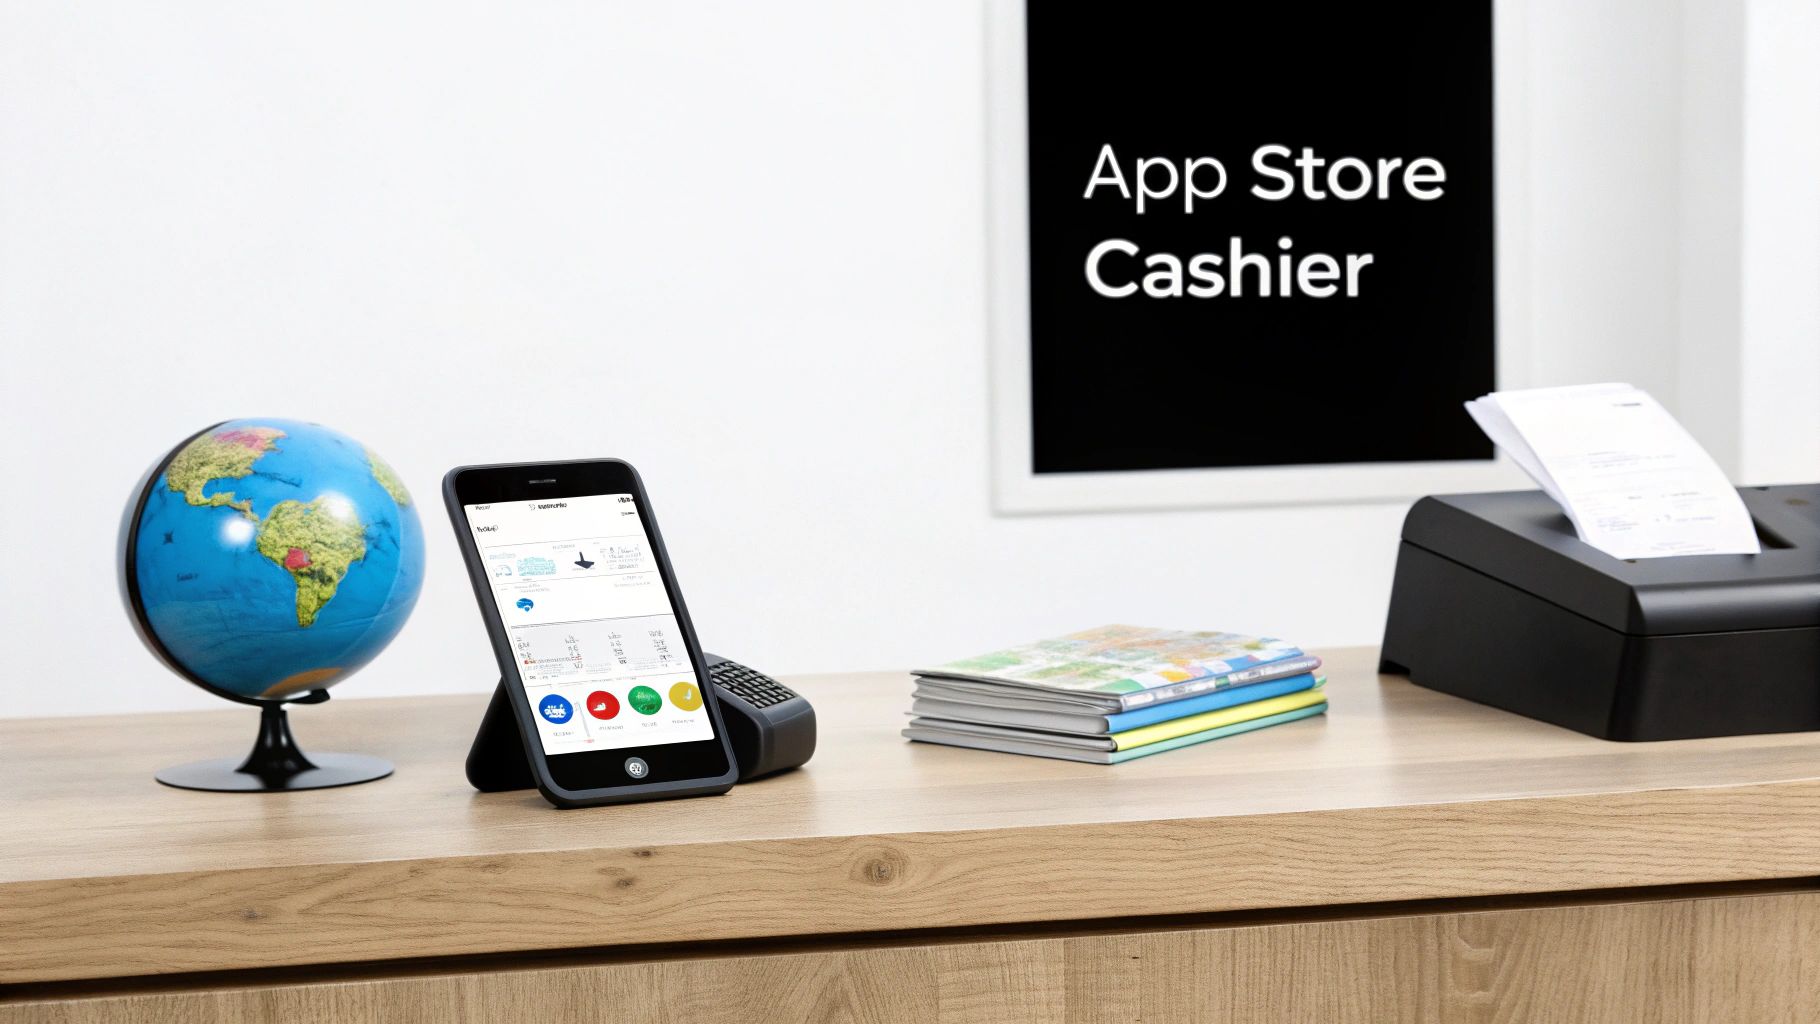
Before you dive into writing code, it’s critical to get a bird's-eye view of how the whole system works. The best way to think about it is to picture the App Store as your own personal, ultra-secure global cashier.
It takes care of the messy stuff—securely processing payments in multiple currencies, handling sales tax, and fighting fraud. This frees you up to do what you do best: build an incredible app. The whole process is a coordinated dance between three main partners: your app, your server, and Apple's servers.
This infographic lays out how a typical transaction flows between these three players.

As you can see, your server acts as a crucial gatekeeper. It doesn't just trust the app; it verifies every single purchase directly with Apple before unlocking the paid content for the user.
The Key Players in a Transaction
Every transaction is a secure, back-and-forth conversation. It starts when a user in your app taps "buy." Apple's servers handle the payment and issue a digital receipt. But it doesn't end there. Your server's job is to take that receipt and double-check its authenticity with Apple. Only after getting the green light should your app deliver the goods. This server-side validation is your best defense against fraud.
The scale of this ecosystem is staggering. The App Store is on track to pull in a projected $138 billion in revenue during 2025, with in-app purchases making up the lion's share of that spending. In the gaming world, it's even more pronounced, where IAPs often account for 60-70% of all revenue. You can dig deeper into these trends by checking out these App Store statistics that highlight Apple's massive app economy.
The Four Core IAP Types
Apple gives you four distinct types of in-app purchases to work with. They aren't interchangeable, and picking the right one is a cornerstone of your monetization strategy. Each one comes with its own rules and, more importantly, its own set of user expectations.
Here’s a quick breakdown of your options:
Four Types of iOS In-App Purchases
| IAP Type | Description | Common Use Case |
|---|---|---|
| Consumable | An item that is used up and can be purchased again. | In-game currency, extra lives, or a pack of hints. |
| Non-Consumable | A feature purchased once that never expires or runs out. | Removing ads forever, unlocking a "Pro" version, or buying a photo filter pack. |
| Auto-Renewable Subscription | Provides ongoing access to content/services and renews automatically until canceled. | Streaming services (Netflix), news apps (NYT), or access to a content library. |
| Non-Renewing Subscription | Grants access for a fixed, limited time and must be manually repurchased. | A season pass for sports content or access to a specific course for one semester. |
As you can see, each IAP type is built for a different kind of business model.
A game might rely on consumables for steady revenue, while a productivity app will likely use a non-consumable unlock or an auto-renewable subscription to deliver continuous value.
Getting this choice right from the start is fundamental. A meditation app makes perfect sense with an auto-renewable subscription for its content library, whereas a simple utility app might just offer a one-time non-consumable purchase to remove ads. Your decision here directly shapes how users interact with your app and what they feel it's worth. Mastering these basics is the first real step toward building a revenue model that truly thrives.
Configuring Products in App Store Connect
Before a single dollar can change hands in your app, you have to let Apple know what you're selling. That all happens in App Store Connect, the command center for everything related to your app on the App Store. Think of it as the back office for your digital storefront, where you manage your entire catalog of in-app purchase products.
Getting this setup right is more than just a technical step. It’s where you define the product type, its price, and the descriptions that users will see. A product that's configured well not only works flawlessly but also clearly spells out its value—a key part of convincing someone to tap "buy."
The Initial Paperwork
First things first, you have to get through some administrative gates. Before you can even think about creating a product, Apple requires you to have the Paid Applications Agreement signed and sealed. This is the essential legal contract that outlines the rules of the road for selling on their platform.
You'll find this tucked away in the "Agreements, Tax, and Banking" section of App Store Connect. Make absolutely sure your banking and tax details are filled out correctly. If this information is missing or wrong, Apple has no way to pay you, bringing your monetization plans to a screeching halt before they even get started.
This is the main App Store Connect dashboard—your starting point for this whole process.
From here, you’ll dive into your specific app to start managing its in-app purchases.
Creating Your First In-App Purchase
With the legal and financial setup out of the way, you can finally get to the good stuff: building your product list. Head to your app’s page in App Store Connect, find the "In-App Purchases" section, and hit that little "+" icon to add a new one.
This brings you to your first major decision: choosing the IAP type. You’ll need to pick from the four types we discussed earlier—Consumable, Non-Consumable, Auto-Renewable Subscription, or Non-Renewing Subscription.
Pro Tip: Be warned—once you assign a type to a product ID, it’s set in stone. If you create a "lifetime unlock" as a Non-Consumable and later wish it were a subscription, you have to start from scratch with a brand new product and a new ID. It pays to think through your monetization model carefully from the start.
After picking a type, it's time to fill in the product's details.
Defining Product Details and Metadata
This is where you bring your product to life. Every field you fill out here influences how your IAP is presented to customers and managed on the backend.
Here’s a breakdown of what you need to configure:
- Reference Name: This is just for you. It’s an internal label that appears in App Store Connect, so make it something clear and easy to understand, like
premium_monthly_subscription_tier1. - Product ID: This is the unique identifier your app’s code will use to call up this specific product (e.g.,
com.yourapp.premium.monthly). It has to be completely unique across all of your apps. - Pricing Tier: This is a neat system. Instead of setting a price in every currency, you just pick one of Apple's price tiers. Apple takes it from there, automatically handling the currency conversions for all 175 storefronts worldwide. It makes going global surprisingly simple.
- Display Name & Description: This is what your customers will actually see on the App Store and in the purchase pop-up. Make it count. Your goal is to be compelling and clearly communicate the value they're about to receive.
Nailing these details makes for a smooth technical implementation on your end and a persuasive, easy-to-understand offer for your users. If you have a large catalog of IAPs, managing all this manually can be a drag. For a more automated approach, you can learn about programmatic management through the App Store Connect API, which is a massive time-saver for developers working at scale.
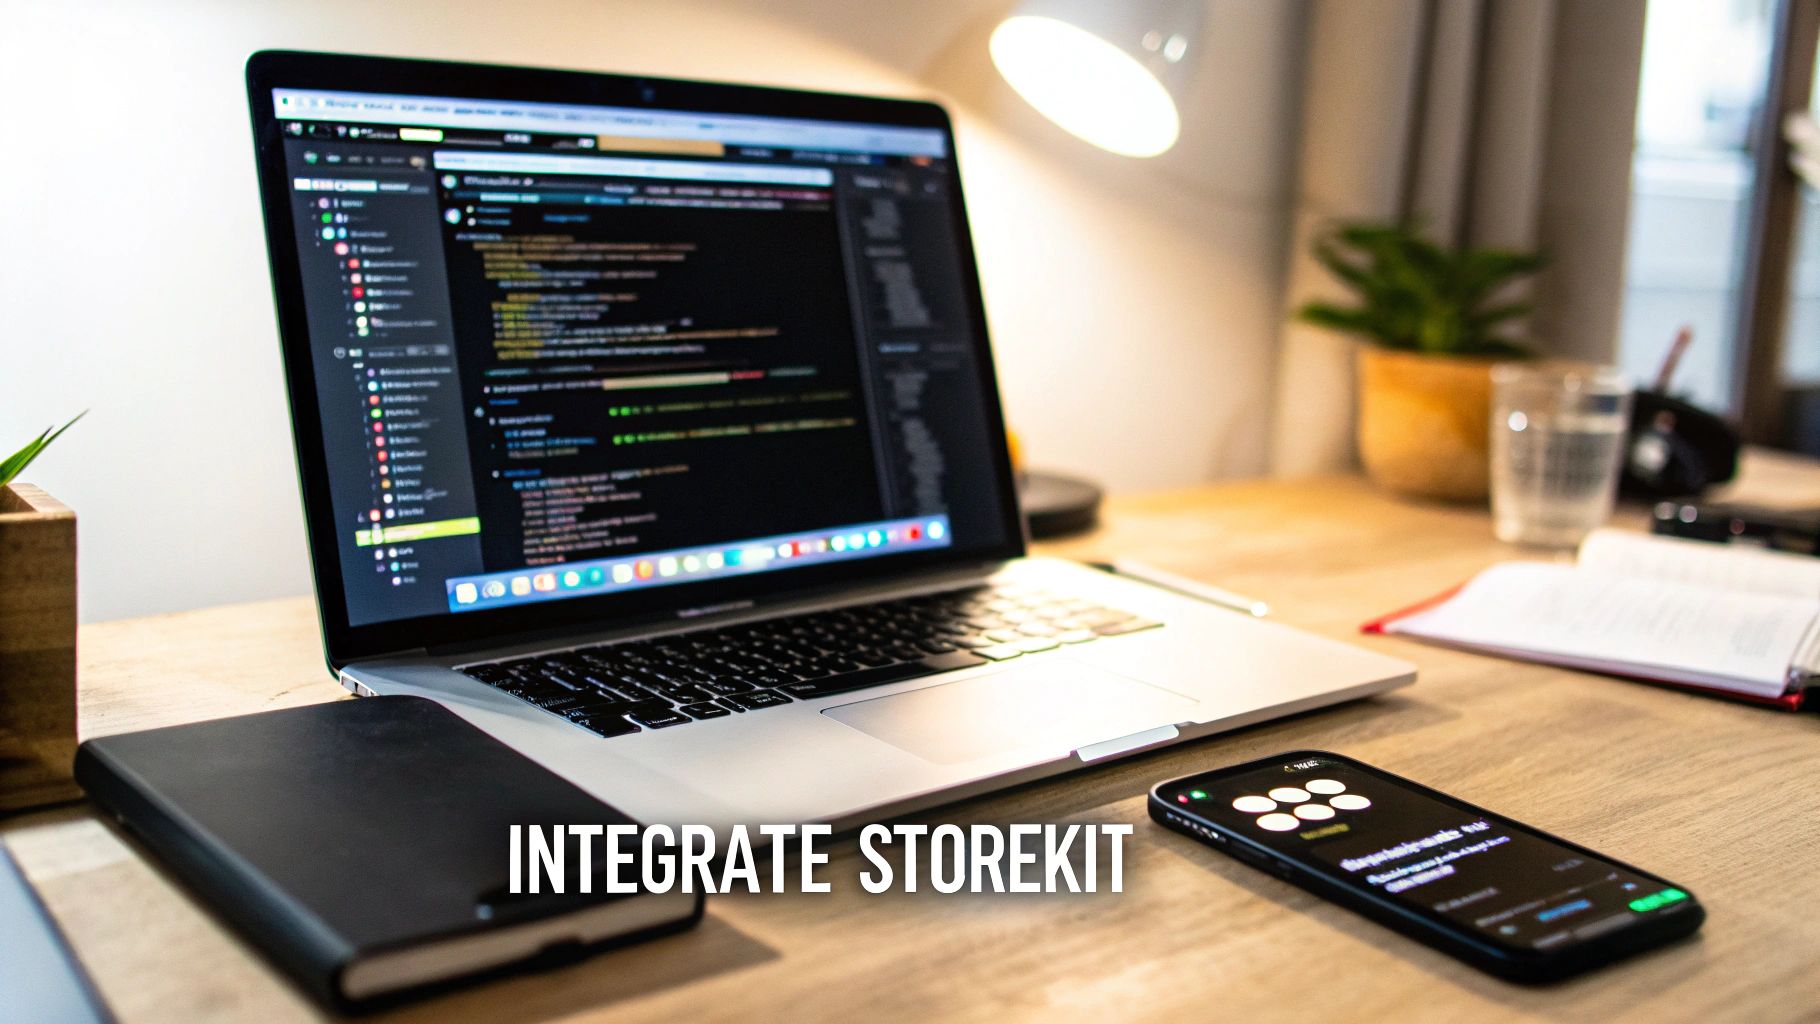
Integrating StoreKit to Handle Transactions
Alright, you've got your products all set up in App Store Connect. Now for the fun part: making them actually appear and work inside your app. This is where Apple's StoreKit framework steps in.
Think of StoreKit as the indispensable middleman between your app and the App Store. It’s the set of tools Apple gives you to securely fetch product details, kick off a purchase, and make sure everything is handled correctly on the backend.
The whole dance starts when your app pings StoreKit for product information. You'll use those unique Product IDs you created, and your app will ask for the important stuff—the localized price, the title, and the description. StoreKit then chats with the App Store and brings that data back, guaranteeing that what your user sees is always perfectly tailored to their currency and region.
This is a huge deal for building a smart paywall. You aren't hardcoding prices into your app, which would be a maintenance nightmare. Instead, you're fetching them live. This means you can run a sale or adjust your pricing in App Store Connect anytime you want, without ever having to ship a new app update.
Fetching Products and Displaying Your Store
The first bit of code you'll write will be to grab that product list from StoreKit. With modern Swift and StoreKit 2, Apple has made this surprisingly simple. You essentially hand it a list of your Product IDs and wait for it to come back with the details.
This is all done asynchronously, which is just a fancy way of saying your app’s UI won’t freeze up while it's waiting for Apple's servers to respond. Once that product data arrives, you can use it to build out your paywall, showing off beautifully formatted local prices and compelling descriptions to encourage users to buy.
Initiating and Handling Purchases
When a user finally taps that "Buy" button, your app calls a single purchase method in StoreKit and then steps back. This is where the magic happens. StoreKit takes over completely, presenting that familiar native iOS payment sheet everyone knows. It handles the entire flow: authenticating with Face ID or Touch ID, showing the payment details, and getting that final confirmation.
This system is built entirely on security and trust. Your app never sees or handles a credit card number, which relieves you of a massive security burden and gives your users peace of mind. After the user confirms or cancels, StoreKit reports the result back to your app.
The real mark of a solid iOS in app purchasing setup isn't just starting the purchase—it's how you handle what comes back. You have to be ready for multiple outcomes to give users a smooth ride.
Your app needs to be listening for every possible result from a purchase attempt. This is where a well-built, resilient system truly shines.
Managing Every Transaction State
A purchase isn't just a simple success or failure; it's a process with a few possible stages. Your code has to know what to do in each scenario to give the user the right feedback and unlock their content without a hitch. If you're just getting your feet wet, our guide on how to integrate the iOS SDK walks you through setting up these crucial listeners step-by-step.
Here are the main transaction states you absolutely have to handle:
- Purchased: This is the best-case scenario. The payment went through. Now, your app needs to verify the purchase receipt and then unlock the feature or deliver the goods.
- Failed: The transaction hit a snag. This could be anything from an expired credit card to insufficient funds, or the user might have just changed their mind and canceled. Your app should let them know gracefully without making a big deal out of it.
- Pending: Sometimes a purchase needs a thumbs-up from someone else, like a kid using "Ask to Buy" to get a parent's approval. Your UI should show that the purchase is on hold and be ready to react when the final decision comes through.
Building logic for these states ensures your app never feels broken or confusing. What if a user's phone dies right after they hit "Buy"? StoreKit is smart enough to pick up where it left off. The next time the app opens, StoreKit will deliver that pending transaction to your listener, so no purchase ever gets lost in the ether.
Finally, you have to include a "Restore Purchases" button. This is a non-negotiable App Store rule for non-consumable and subscription-based products. It gives users the confidence that if they get a new iPhone or reinstall your app, they can instantly get back everything they’ve paid for. It's a small touch that builds a huge amount of trust.
Validating Receipts to Secure Your Revenue
Getting a purchase to go through in your app feels like a huge win, but the job isn't quite done. A successful transaction is really only the first half of a secure ios in app purchasing system. The second, and arguably more critical, half is making sure that purchase was legitimate. If you skip this step, you're leaving your revenue wide open to fraud.
Think of an App Store receipt as a digital certificate of authenticity. When someone buys something, Apple’s servers create an encrypted file with all the important details—what was bought, when, and for how much—and send it to your app.
Here’s the catch: you can't just trust the app to check this receipt on its own. That’s a massive security hole. A savvy user could mess with the app’s local files or intercept the data flow to trick your app into unlocking paid features for free. This is why the golden rule is to never trust the client.
Why Server-Side Validation is Non-Negotiable
The only reliable way to validate a purchase is to use your own server as the referee. The app's one and only job is to take the receipt it gets from Apple and forward it straight to your server. From there, your server talks directly with Apple's verification servers to get the final word on whether the receipt is authentic.
This server-to-server check is the industry standard for securing in-app purchases. It creates a closed loop where your server becomes the single source of truth about who gets access to what, completely cutting off any attempts to manipulate things on the user's device.
This approach shuts down common fraud tactics, like jailbreak tweaks that create fake purchase confirmations. By checking every single transaction with Apple, you can be confident that only genuine, paying customers are accessing your premium content.
Anatomy of an App Store Receipt
An App Store receipt is much more than a simple "payment complete" notification. It's a complex, structured data file that's been encoded and cryptographically signed by Apple. When your server gets this file, its first move should be to send it over to Apple's verifyReceipt endpoint.
Apple’s server then does the heavy lifting: it decrypts the receipt, verifies the signature, and sends you back a clean, human-readable JSON response. This response is packed with information you can use to manage your users.
Here are a few of the most important fields you'll find in the validated receipt data:
bundle_id: Your app's bundle identifier, which confirms the purchase was actually for your app.product_id: The unique ID for the specific item the user bought.purchase_date: The exact timestamp of the transaction.original_transaction_id: A unique ID that stays the same across all renewals for a single subscription, making it easy to track a customer's entire history.expires_date: For subscriptions, this tells you precisely when the current access period ends.
By parsing this JSON, your server can start making smart decisions. It can create a new user account, unlock a specific feature set, or update a subscription's expiration date in your database.
The core principle is simple: your app asks your server, "Does this user have access to the premium feature?" Your server, having validated the receipt with Apple, provides the definitive yes or no answer.
This architecture is the foundation of a robust and reliable system that actually protects the revenue you've worked so hard to earn.
Handling the Verification Response
Once that JSON response from Apple hits your server, your own logic takes over. A status code of 0 means the receipt is valid and you're good to go. You can now confidently grant the user access to what they paid for.
But you also need to be ready for other status codes. Apple provides a whole list of codes that flag specific issues, like an expired subscription or a receipt that came from the sandbox testing environment. Building out the logic to handle these different responses correctly is key to managing the entire customer lifecycle—from the first purchase to renewals and even cancellations. It’s this secure foundation that ensures your monetization strategy is built to last.
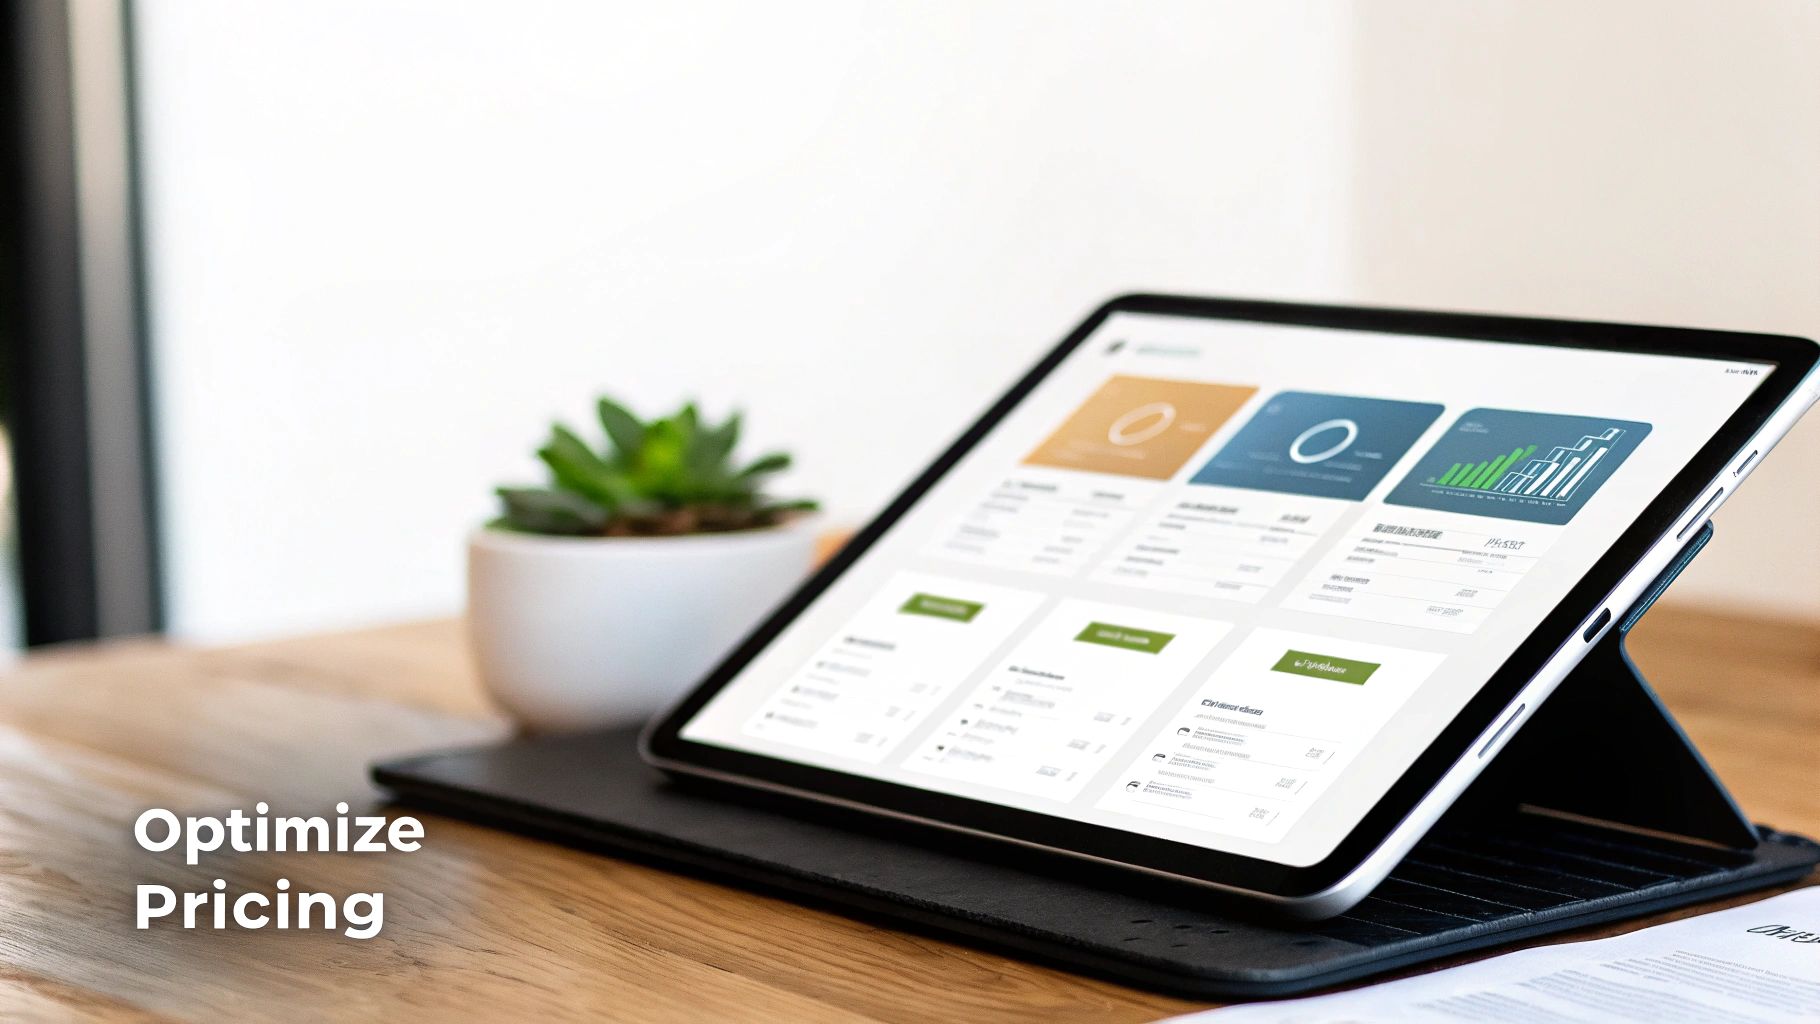
Optimizing Your Pricing and Paywall Strategy
Alright, you've got the technical plumbing in place. StoreKit is talking to the App Store, and your products are set up. Now comes the fun part—turning that setup into a real revenue stream. This is where we move from code to psychology. Your pricing and the design of your paywall are the biggest levers you can pull to actually grow your business.
A great paywall isn't just a gatekeeper asking for money. It has one job: to quickly and clearly communicate value. It needs to answer your user's unspoken question: "What's in it for me, and why should I care?" To do that well, you have to get inside your users' heads and understand what they truly find valuable in your app.
Choosing Your Monetization Model
First things first, you need to decide how you're going to charge. This is a huge decision that shapes the entire user experience and, of course, your revenue potential. There's no single right answer; what works brilliantly for a meditation app would likely flop for a photo editor.
You’ve got a few main paths to choose from:
- Freemium: Give away the core experience for free but put your best, most powerful features behind a purchase. This is fantastic for getting tons of people to download and try your app, letting them see its value before you ask for a dime.
- Subscriptions: This is the model everyone's talking about. Users pay a recurring fee for ongoing access to content or services. It creates a predictable, stable revenue stream, but the pressure is on you to keep delivering value so they don't cancel.
- One-Time Purchase: Simple and straightforward. Users pay once to unlock everything forever (or a specific feature pack). It's easy for customers to understand, but it puts a cap on your long-term revenue from each user.
The trend in iOS in app purchasing is undeniably pointing toward recurring revenue. In just Q1 2025, in-app purchase revenue on iOS and Google Play hit a combined $40 billion, with Apple taking the lion's share. That marked the sixth quarter in a row where global IAP revenue jumped by at least 10%. You can dig into more of this impressive market growth on sensortower.com to see just how powerful these models have become.
The Power of Introductory Offers
Getting someone to commit to a subscription is a big ask. That's where introductory offers, especially free trials, become your secret weapon. A trial completely removes the risk for the user, letting them experience the full, unrestricted premium version of your app.
Honestly, this hands-on experience is the best sales pitch you could ever make. It lets the value of your premium features do all the talking. We've written a lot about strategies for free trials and introductory products that you might find helpful. The goal is to make the jump from a trial to a paid subscription feel like the most natural, obvious next step.
A well-timed free trial isn't just a sales tactic; it's an onboarding tool. It teaches users how to get the most from your app, making them more likely to see its indispensable value when the trial period ends.
Designing a High-Converting Paywall
Your paywall is the moment of truth. It's the final step in the journey, and a poorly designed one can torpedo all the hard work you've done. It needs to be clean, clear, and laser-focused on benefits, not features. Instead of listing "Advanced Filters," frame it as "Create Stunning Photos in Seconds." See the difference?
The real key to success here is to never stop testing. Don't just set your prices and walk away.
Here’s a quick list of what you should be experimenting with:
- Price Points: Try out different tiers. You're looking for that perfect balance between how many people convert and how much revenue you get from each one.
- Offer Structure: Test annual versus monthly plans. A simple trick like highlighting the "Best Value" of an annual plan can dramatically increase long-term commitments.
- Copy and Messaging: A/B test everything—your main headline, the benefit bullet points, even the text on your call-to-action button.
- Visual Design: Play with different layouts, images, and color schemes. You'd be surprised what a different background photo or button color can do for trust and attention.
This is exactly why tools like Nuxie’s paywall studio exist. They're built for exactly this kind of rapid-fire testing, letting you design, launch, and measure new paywall ideas without having to push a whole new app update every time. That kind of agility is a massive advantage, letting you constantly fine-tune your approach based on real user data and turn your paywall into a finely-tuned conversion machine.
Managing the Subscription Lifecycle
For many of today's top apps, auto-renewable subscriptions are the engine of growth. They create a predictable revenue stream that you can build a business on. But unlike a simple one-time purchase, a subscription isn't a single transaction—it's an ongoing relationship. To succeed, you have to actively manage that entire customer journey, from the moment they sign up to the day they might decide to leave.
The subscription model is absolutely dominant on the App Store. In 2024 alone, iOS subscription revenue hit a staggering $66.8 billion, making up 73% of the total. That's a clear signal that users are comfortable with recurring payments for apps they love, and this trend isn't slowing down. You can dig into more of the numbers on consumer spending in the App Store on sensortower.com.
So, how do you manage this relationship effectively? You need a direct line of communication with Apple's servers. That’s where App Store Server Notifications come into play.
Handling Key Lifecycle Events
Think of App Store Server Notifications (ASSN) as automated alerts that Apple pings your server with whenever something important happens with a user's subscription. They're real-time updates that let you react instantly. Trying to run a subscription app without them is like flying blind.
Your server needs to be set up to listen for these pings and know exactly what to do for each one. Here are the most critical notifications you'll want to handle:
DID_RENEW: This means a subscription renewed successfully. It's your green light to extend the user's premium access for the next billing cycle.EXPIRED: The subscription is officially over. This could happen if a user canceled or if a billing problem went unresolved for too long.DID_FAIL_TO_RENEW: A payment attempt failed. This kicks off Apple's "billing grace period," which gives the user a window to fix their payment information before access is cut off.SUBSCRIBED: You've got a new subscriber! This event usually fires when a free trial converts into a full-blown paid plan.
By building logic around these events, you create a system that keeps a user's access perfectly in sync with their actual subscription status. No guesswork involved.
A great user experience is all about immediacy. When a payment fails, a user shouldn't suddenly find themselves locked out. A timely in-app message, triggered by a server notification, can gently guide them to update their payment details and prevent churn they never intended.
Building Trust with In-App Management
One of the most crucial, yet surprisingly neglected, parts of any subscription app is an easy-to-find subscription management screen. If you make it a nightmare for users to find their next billing date or to cancel their plan, you’re not being clever—you’re eroding trust. This approach often backfires, leading to frustrated users and a flood of one-star reviews.
A solid in-app management screen should offer a few simple things:
- Current Plan Details: Remind the user what plan they're on and the key benefits they're paying for.
- Next Billing Date: Clearly state the exact date and cost of their next renewal. No surprises.
- A Link to Manage Subscriptions: Give them a simple, one-tap button that takes them straight to the official iOS subscription management page in their device settings.
This level of transparency shows you respect your users and gives them a sense of control. Paradoxically, when people feel they can easily leave, they’re often more likely to stick around. Building a user-friendly and trustworthy interface is a cornerstone of a healthy ios in app purchasing strategy.
Common In-App Purchasing Questions Answered
Diving into iOS in-app purchasing often feels like navigating a maze. You’re bound to have questions about the rules, the tools, and how to get everything right. Let's clear up some of the most common hurdles developers run into.
What's the Deal with Apple's Commission?
This is usually the first question on everyone's mind. The standard commission Apple takes is 30% of all revenue from your in-app purchases and subscriptions. Simple enough, but there are a couple of key exceptions you should know about.
- App Store Small Business Program: If your earnings are under $1 million a year, you can apply for this program. Once approved, Apple's commission drops to 15%.
- Long-Term Subscribers: For auto-renewable subscriptions, Apple rewards you for retaining customers. After a subscriber sticks with you for a full year, the commission on their subsequent payments also drops to 15%.
How Do I Test Purchases Without Going Broke?
You definitely don't want to use your personal credit card to test your IAP flow. That’s where Sandbox accounts come in.
These are special test accounts that you create directly in App Store Connect. When you log into a test device with one of these accounts, your app can simulate the entire purchase process. You'll see the payment pop-ups and get receipts, but no real money ever changes hands. It's a completely safe environment to make sure your logic—from fetching products to validating purchases—works perfectly.
A Customer Wants a Refund. What Do I Do?
This one catches a lot of developers by surprise: You can't issue refunds directly. Apple manages the entire refund process from start to finish.
Your job is to direct the user to Apple’s official "Report a Problem" page, where they can submit their request. While you can't click a "refund" button yourself, you can (and should) set up App Store Server Notifications. This way, Apple will ping your server when a refund is processed, letting you revoke access or update the user's account on your end.
We often get asked whether to use the original StoreKit or the newer StoreKit 2. For any new app, StoreKit 2 is the way to go. It uses modern Swift features like async/await, which dramatically simplifies your code. It’s also much more reliable for handling transaction states and accessing purchase history, saving you from a lot of the headaches that came with its predecessor.
Ready to stop guessing and start optimizing? Nuxie provides an AI-powered paywall studio that lets you design, test, and ship high-converting paywalls in minutes, not weeks. Get started for free today.