How Do You Launch an App A Founder’s Guide
How do you launch an app? Move beyond theory with a practical guide on validation, development, marketing, and App Store submission for a successful launch.
So, you're thinking about launching an app? It's an exciting journey, but it’s also one that requires a clear plan. Going from a spark of an idea to a live product on the App Store isn't just a single event; it's a structured process. You'll need to validate your concept, nail the design, get smart with your pre-launch marketing, and successfully navigate Apple's submission gauntlet.
Your Blueprint for a Successful App Launch
Turning a great idea into a successful app demands a solid roadmap. It’s not enough to build something that just works. In today’s crowded market, you have to build something people will actually find, use, and hopefully, love. A strategic approach helps you sidestep common pitfalls and sets you up for growth right from the start.
Breaking the journey down into core phases makes the whole thing much more manageable. Think of it as a lifecycle, moving from a simple concept to a polished, launched product.
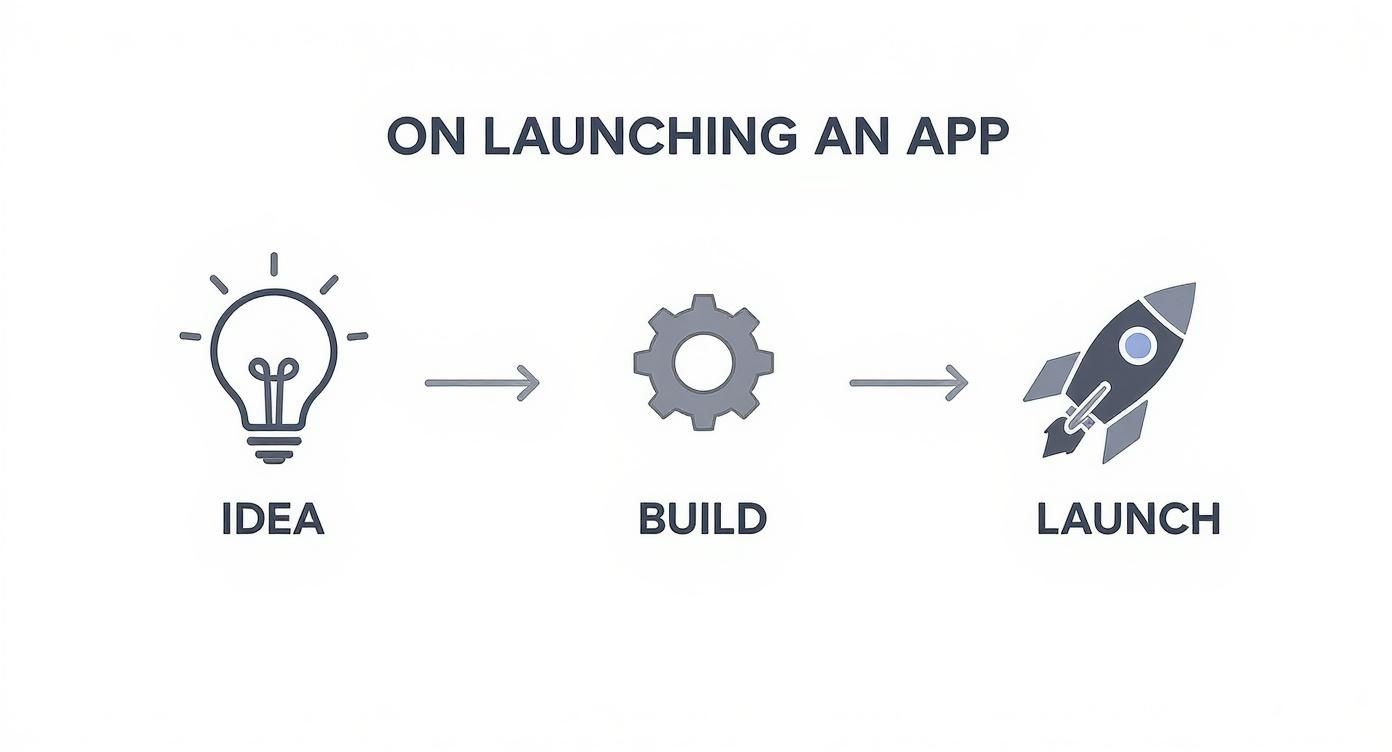
This visual really captures the flow—from that initial brainstorming session to the nitty-gritty of development and, finally, the big launch day. Each step logically follows the one before it, which is why a methodical plan is so much better than just rushing to build.
Understanding the App Marketplace
First things first, you need a reality check on the world you're about to enter. Launching an app means you're competing in a global arena with nearly 9 million other apps. That breaks down to about 3.55 million on Google Play and 1.64 million on the Apple App Store.
The sheer volume makes getting noticed a massive challenge. Even the top apps are seeing download growth slow to just 8–10% year-over-year. If you want to dig deeper, it's worth checking out some of the data on mobile app market saturation to really appreciate the competitive landscape.
The hard truth is that a successful launch isn't just about having a great app. It’s about having a great app with a great plan. Without a clear strategy, even the most brilliant idea can get lost in the noise.
The Core Phases of an App Launch
To cut through that noise, you need to break down the entire process into distinct, manageable stages. Each phase has a clear goal that builds toward the final launch. Thinking about it this way keeps you focused and ensures you don't miss anything critical along the way.
To give you a bird's-eye view, I've summarized the key stages of an app launch in the table below. It outlines the main goal for each phase and the activities you'll be focused on.
Core App Launch Phases at a Glance
| Phase | Primary Goal | Key Activities |
|---|---|---|
| Validation | Confirm market demand for your app idea. | Market research, competitor analysis, user personas, MVP definition. |
| Design & Development | Transform the validated idea into a functional product. | UI/UX design, wireframing, coding, alpha/beta testing, bug fixing. |
| Pre-Launch Marketing | Build buzz and an initial audience before launch. | Landing page creation, content marketing, social media, App Store Optimization (ASO). |
| Submission & Launch | Get the app approved and live on the App Store. | Prepare App Store listing, submit for review, plan launch day activities. |
| Post-Launch Growth | Retain users and scale the app's success. | Analyze user data, gather feedback, release updates, ongoing marketing. |
This table provides a high-level framework, but now let's dive into what each of those phases actually involves.
Here’s a quick rundown of the journey ahead:
- Validation: This is your sanity check. Is there a real-world problem your app solves? You'll be doing a lot of research, checking out competitors, and clearly defining who your ideal user is.
- Design & Development: Here’s where your idea starts to take shape. This phase covers everything from the look and feel (UI/UX) to the actual coding and, of course, tons of testing.
- Pre-Launch Marketing: You need to start building excitement before your app is even available. Think landing pages, blog posts, social media teasers, and getting your App Store listing ready (ASO).
- Submission & Launch: This is the final technical hurdle. You’ll package your app for Apple's review, cross your fingers, and hit that "go live" button.
- Post-Launch Growth: The work is far from over on launch day. Now it’s all about watching the data, listening to user feedback, and continuously improving your app to keep people coming back.
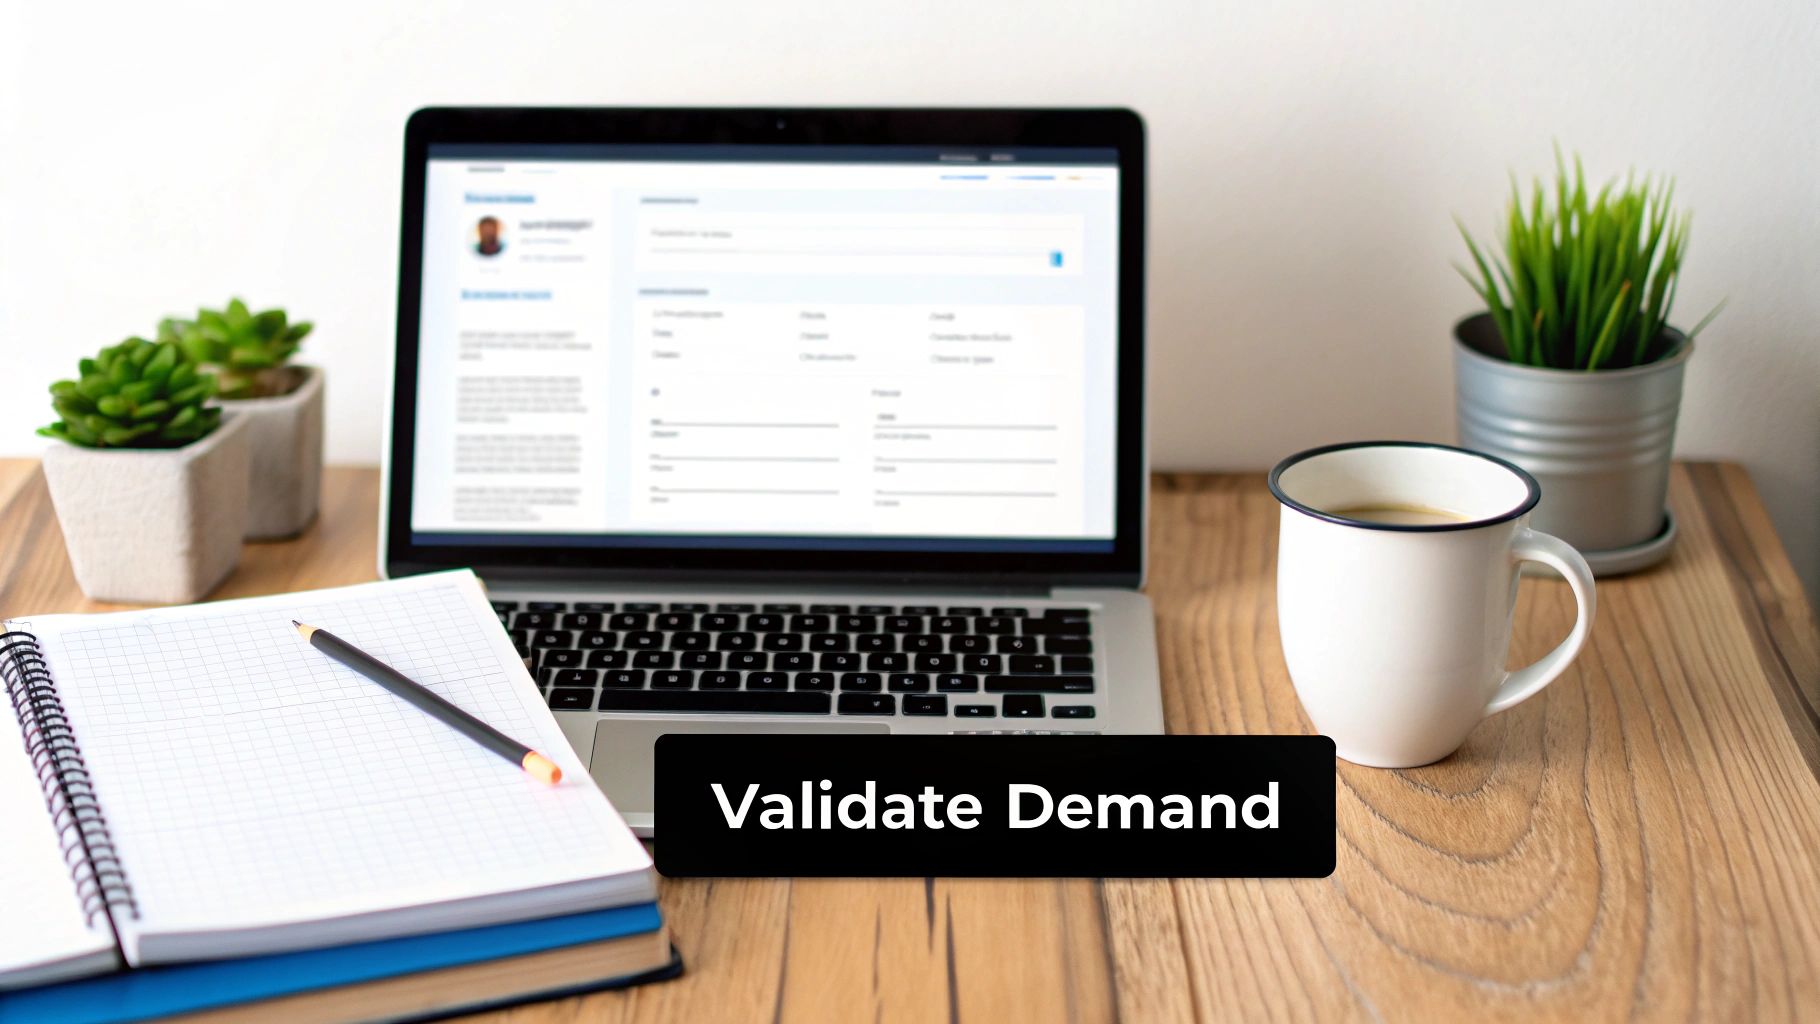
Validating Your Idea to Build What Matters
That brilliant idea feels like a million-dollar ticket, but in the unforgiving app world, it’s just the starting line. Before you even think about writing a single line of code, you need cold, hard proof that people will actually use what you're dreaming up. This validation phase is your best insurance policy against a costly flop.
This isn’t about asking your friends if they like your concept. It’s about methodical, almost surgical, research to understand your future users on a deep, personal level. You need to get past surface-level demographics and build a detailed profile of your ideal customer. What are their biggest frustrations right now? What clumsy workarounds are they using to solve their problem? Answering these questions paints a crystal-clear picture of the market you’re about to jump into.
Digging Deep into Market Research
Great market research starts by knowing exactly who you're building for. The first step is to create a detailed user persona—a fictional character who embodies your target customer. Give them a name, a job, goals, and, most importantly, a list of pain points. For instance, if you're building a productivity app, you might be targeting "Alex," a freelance project manager drowning in a messy mix of spreadsheets and sticky notes just to keep track of clients and deadlines.
Once you have Alex in mind, it's time to find real people just like him.
- Surveys and Questionnaires: Tools like Google Forms or SurveyMonkey are great for this. Just be sure to focus on their problems, not your proposed solution. Instead of asking, "Would you use an app that does X?" a much better question is, "How do you currently manage Y, and what frustrates you most about that process?"
- One-on-One Interviews: Nothing beats a real conversation. Find 5 to 10 people who match your persona and just listen. These interviews deliver rich, qualitative insights that surveys can't touch. Your job here is to listen more than you talk.
- Forum and Community Mining: Become a fly on the wall in the online communities where your audience lives. Hang out in specific subreddits, niche forums, or private Facebook groups. What questions keep popping up? What common complaints do they have about existing tools? This is an absolute goldmine of unfiltered user feedback.
Getting this right has never been more critical. By 2025, the global mobile app market is expected to pull in anywhere from $330 billion to $585 billion in revenue. That staggering number highlights the massive potential, but it also screams intense competition. You can get more insights on the growing mobile app market on dojobusiness.com.
Sizing Up the Competition
Analyzing your competitors isn’t about copying them; it’s about finding the gaps they’ve missed. Pinpoint 3-5 direct and indirect competitors and put them under the microscope.
I find it helpful to create a simple comparison table to keep my findings organized. Track their features, pricing models, and—most importantly—their user reviews. Pro tip: the one-star reviews are often far more valuable than the five-star ones. They spell out exactly where those apps are failing their users, and that’s where you’ll find your opening.
Your goal isn't to build a slightly better version of their app. It's to build a different solution that solves a problem they’ve completely overlooked. This is how you discover your Unique Value Proposition (UVP).
Defining Your Minimum Viable Product
With all this research in hand, you’re finally ready to define your Minimum Viable Product (MVP). An MVP isn't a half-baked, buggy prototype. It’s the absolute simplest version of your app that solves the core problem for your target user and is actually valuable to them from day one.
Think of it like this: if you're building a new way to get around town, the MVP isn't a single tire. It’s a skateboard. It’s a basic, yet complete, solution that gets the job done. You can add the fancy engine, comfy seats, and power steering later, based on what your first real users tell you they want.
This approach saves a ton of time and money by preventing you from building features nobody asked for. More importantly, it gets your product into the hands of real people as fast as possible so you can start learning and iterating. For a much deeper dive into this initial creation phase, check out our guide on how to get an app made from concept to reality. Launching a smart MVP is a crucial first step in your journey to figuring out how you launch an app successfully.
Bringing Your App to Life Through Design and Development
You’ve validated your idea, and now the real fun begins. This is the stage where your concept sheds its abstract skin and starts to become a tangible, functional product. It's time to build, but before a single line of code gets written, we need to talk about user experience—the very soul of your app.
Think about it: a gorgeous app that's a nightmare to navigate is dead on arrival. Likewise, an intuitive app that looks like it was designed in 2010 won't inspire trust. The magic happens at the intersection of stunning aesthetics (UI) and effortless functionality (UX). Nailing this balance isn't just a nice-to-have; it's everything.
Crafting an Intuitive User Experience
User experience (UX) is all about how your app feels. When someone opens it for the first time, do they instantly get it? The journey starts with wireframes—simple, low-fidelity blueprints that map out each screen and how a user moves between them.
From there, you’ll want to create interactive prototypes. These are essentially clickable mockups that let you test the app's flow without writing any code. I can't stress how critical this is. It's where you discover that a button is in the wrong place or a workflow is confusing, saving you a fortune in development headaches down the road.
According to Forrester Research, every dollar invested in UX can bring back a staggering $100 in return. This isn't just about aesthetics; it’s about respecting your user's time and building something they genuinely enjoy using.
Designing a Compelling User Interface
If UX is the skeleton, the user interface (UI) is the skin. This is the visual layer—your colors, fonts, icons, and layout—that gives your app its personality. While you should absolutely follow Apple’s Human Interface Guidelines to make the app feel native to iOS, you also need a unique visual identity.
What emotion are you trying to evoke? A meditation app might lean into calm blues and soft gradients, whereas a fitness app could go for bold, high-contrast colors to create a sense of energy. This visual language is the first thing your users will connect with.
Choosing Your Development Path
With a solid design in hand, it's time to actually build this thing. One of the most significant forks in the road is your tech stack. For an iOS app, you’ve basically got two main options, and each comes with serious trade-offs.
| Development Approach | Primary Technologies | Key Advantages | Ideal For |
|---|---|---|---|
| Native iOS | Swift, SwiftUI | Optimal performance, access to the latest iOS features, seamless user experience. | Performance-critical apps, apps needing deep hardware integration. |
| Cross-Platform | React Native, Flutter | Single codebase for iOS and Android, faster initial development, lower cost. | MVPs, content-driven apps, projects with tight budgets and timelines. |
Going native with Swift gives you the best possible performance and feels completely at home on an iPhone. However, if an Android version is on your immediate roadmap, a cross-platform framework like React Native could prevent you from building the app twice. For most founders who want to launch a top-tier iOS app first, native is the gold standard.
Embracing an Agile Workflow
Building an app is a marathon, not a sprint. An agile workflow is what keeps you from getting lost along the way. Instead of a massive, monolithic build, you work in short, focused "sprints"—usually 1-2 weeks—where your team tackles a small, specific set of features.
This iterative process is a game-changer for a few reasons:
- Flexibility: You can pivot based on feedback without derailing the whole project.
- Visibility: You have a working, testable app at the end of every sprint. The progress is real and measurable.
- Risk Reduction: You catch big problems early, long before they become expensive, soul-crushing disasters.
This is how you get an app out the door without being overwhelmed. It ensures you’re always moving forward.
Implementing a Robust Testing Plan
Finally, before you even dream of hitting that "Submit for Review" button, you need to test. Test everything. Then test it again. A buggy launch will earn you a wave of one-star reviews that are nearly impossible to recover from.
Your testing should be multi-layered. Start with unit tests to make sure individual components of your code work. Then, use integration testing to confirm all those components play nicely together.
But the most important phase is beta testing with real people. Apple’s TestFlight is an amazing tool for this. Get your app into the hands of your target audience and beg them for brutally honest feedback. They will find bugs and usability quirks you never would have noticed. This real-world feedback is your last, best line of defense against a messy launch day.
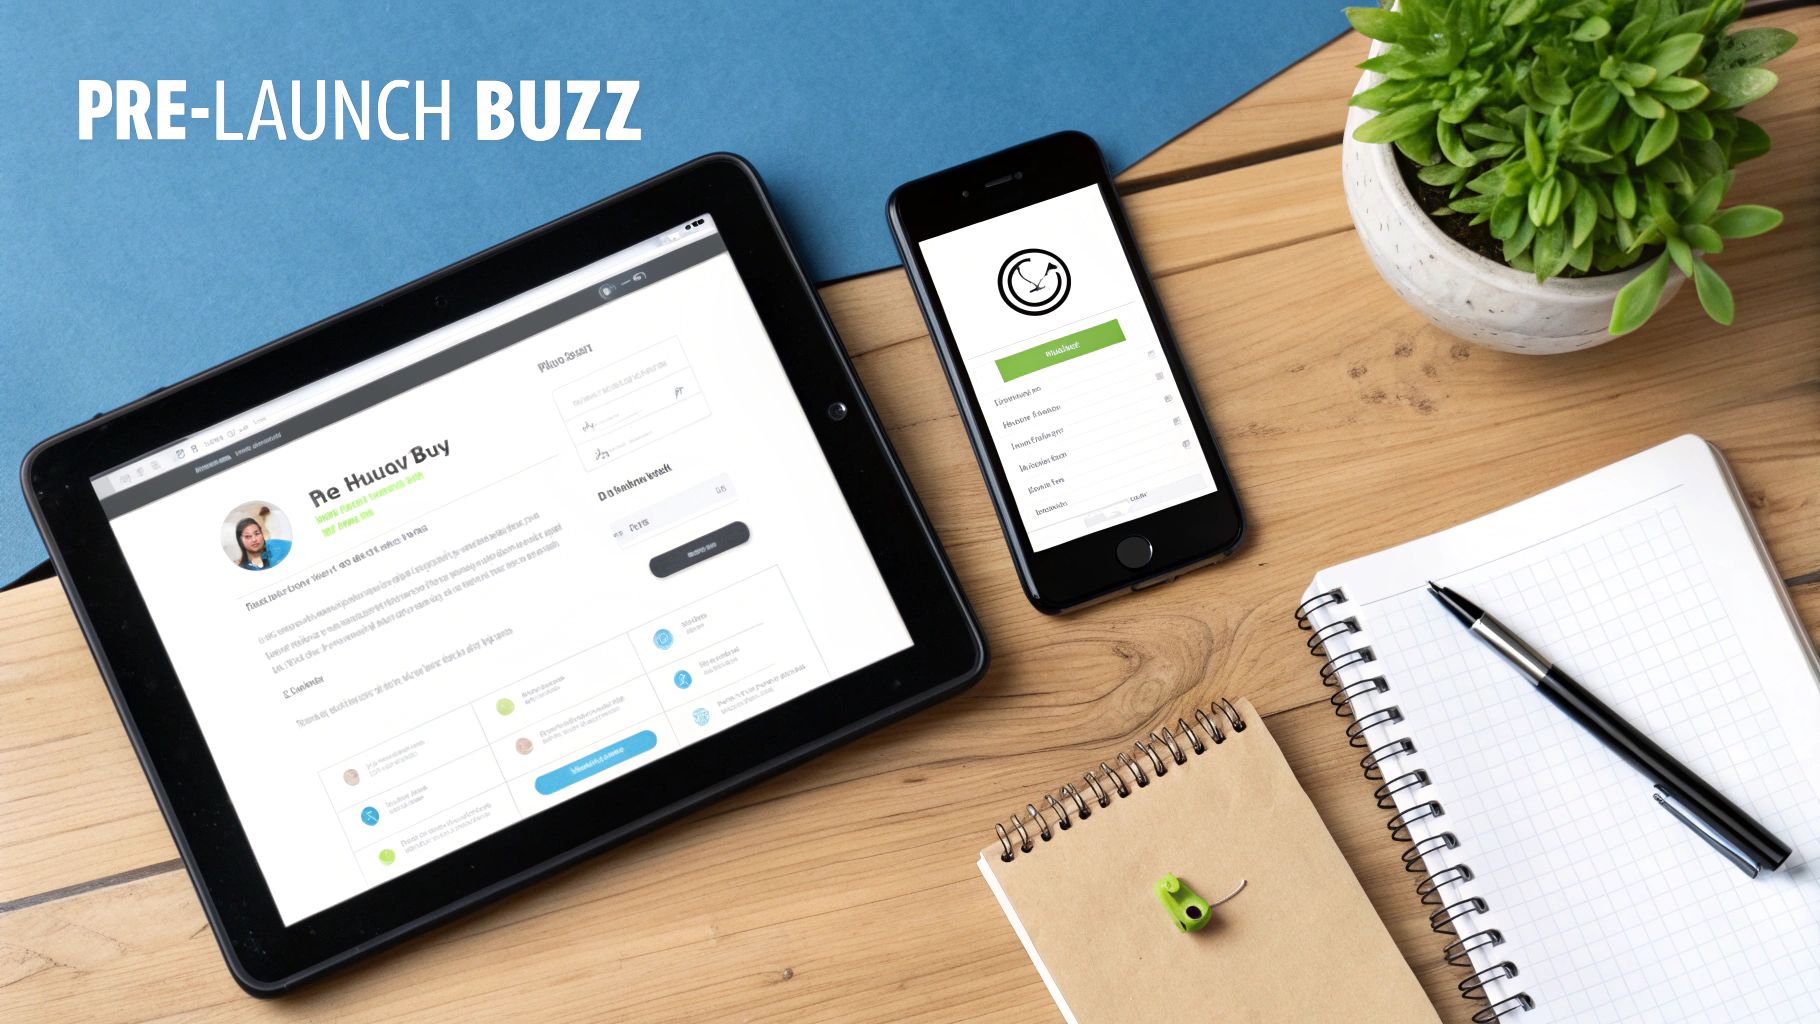
Building Buzz with Pre-Launch Marketing and ASO
A huge launch day doesn't just happen—it's engineered. The time before your app hits the store is your single best chance to build momentum. If you just launch and hope for the best, you’ll be greeted with crickets. The goal is to create a groundswell of excitement so that on day one, a crowd is already waiting.

This whole process starts with one simple, non-negotiable step: create a clean landing page. Its only job is to capture email addresses from people who are genuinely interested in what you’re building. It needs to nail your app's unique value proposition, show off some slick mockups, and have a can't-miss sign-up form.
Laying the Content Foundation
Once your landing page is live, it’s time to start the conversation. Content marketing is how you build trust and establish yourself as an expert long before you ever ask for a download. You don't need a massive content operation, just consistency and real value.
Think about the specific problems your app solves and create content that addresses them.
- Insightful Blog Posts: If you've built a personal finance app, write articles about common budgeting mistakes or tips for beginner investors. This draws in your target audience through search and shows you know your stuff.
- Engaging Social Media: Pull back the curtain and share behind-the-scenes peeks of your development journey. Post mockups on Instagram or Twitter, run polls asking for feedback on feature ideas, and celebrate the small wins along the way.
- Building a Community: Think about starting a small community for your earliest supporters on a platform like Discord or in a private Facebook group. This creates an amazing feedback loop and turns your first users into true evangelists.
This early engagement is what separates a buzzy launch from one that falls flat. You're not just marketing; you're building a tribe.
Mastering App Store Optimization
While content builds your brand, App Store Optimization (ASO) is the engine that drives direct, organic downloads. It's basically SEO for the App Store, and getting it right is the secret to launching an app that actually gets discovered. Your mission is to make your app's store page as compelling and visible as humanly possible.
ASO is your most powerful tool for organic growth. A well-optimized listing can dramatically increase your visibility in search results, leading to a steady stream of high-intent users finding your app without you spending a dime on ads.
Your ASO checklist has several key components, and each one is a critical piece of the puzzle. Drop the ball on any of them, and your visibility will take a serious hit.
Your ASO Action Plan
Optimizing your app store presence is far more than just stuffing keywords into a description box. It's a mix of art and science that demands a sharp eye for detail across your entire product page.
Here’s a breakdown of the core elements you need to get right:
- Strategic Keyword Research: Use ASO tools to find the actual keywords your target audience is searching for. Hunt for terms with decent search volume but lower competition. Your app title is the most valuable real estate for your main keyword, followed by the dedicated keyword field in App Store Connect.
- A Compelling App Name and Subtitle: Your app's name needs to be memorable and, if possible, hint at its function. The subtitle is your chance to use your most important secondary keywords in a short, punchy phrase that grabs attention.
- An Irresistible App Icon: Your icon is your first impression. It has to be simple, instantly recognizable, and pop in a crowded search result. Steer clear of text and focus on a bold, clean design that reflects your app's personality.
- Screenshots and Videos That Tell a Story: Don't just show random screens. Your first two or three screenshots are the most important—use them to highlight your app's core benefits. An app preview video can boost conversion rates by over 20% by showing people what it's actually like to use your app.
- A Persuasive Description: Your description needs a hook. Start with a powerful opening line that gets straight to the point. Use the rest of the space to clearly explain the problem your app solves, listing its key benefits with bullet points so people can scan it easily. Of course, weave your keywords in naturally throughout.
By nailing these elements before you even think about hitting "submit," you're signaling to the App Store algorithm that your app is ready for the spotlight from the moment it goes live.
You’ve poured countless hours into designing and developing your app. Now it’s time to tackle two of the most critical decisions you'll make: how you’ll get paid and how you'll get it into your users' hands. Nailing your monetization strategy and navigating Apple's infamous review process are the final hurdles before your app goes live.
Choosing a monetization model isn't just about slapping a price tag on your work. It's about finding the perfect alignment between the value your app delivers and how you ask people to pay for it. Get this wrong, and you risk alienating your audience and cratering your revenue potential before you even begin.
Picking the Right Monetization Model
Your app's core function and what your users have come to expect should be the driving forces behind your revenue model. There’s no single right answer here, so let's look at the trade-offs of the most common approaches I've seen work (and fail).
- One-Time Purchase: This is the old-school, straightforward model. Users pay once, and they own the app forever. It works best for focused utility apps or games where the value is immediate, but it seriously caps your long-term revenue.
- Freemium: Hook them with a free, useful version of your app, then offer premium features through in-app purchases. This is a great way to build a massive user base, but it’s a tricky balancing act. The free version has to be good enough to keep them around but limited enough to make the upgrade tempting.
- Subscriptions: This has become the go-to for apps that provide continuous value, like content platforms or productivity tools. It creates a predictable, recurring revenue stream—the holy grail for many developers. The catch? You have to consistently ship updates and new features to keep subscribers from churning.
- In-App Advertising: If you're building something that can attract a huge audience, ads can be a path to profit. But be careful. Intrusive ads can absolutely tank the user experience, making this a risky primary strategy unless you have massive scale.
Your monetization model is just the starting point. The real art is in implementing a paywall that actually converts without feeling like a roadblock. A well-designed paywall, presented at just the right moment, feels less like a barrier and more like a natural next step for the user.
This is where a tool like Nuxie becomes invaluable. It's built specifically to let you design, test, and tweak different paywalls using AI—all without having to push a new app update for every single experiment. That kind of agility is a game-changer for optimizing your conversion rates.
Getting Ready for the App Store
With your monetization sorted, it’s time for the final boss: the Apple App Store submission process. Apple’s guidelines are legendarily strict, and getting rejected can lead to frustrating delays. Preparation is everything.
Globally, app downloads are projected to hit a mind-boggling 299 billion this year. But here’s the reality check: the average person only uses about 10 apps daily. The competition is fierce, so your app’s listing has to be perfect, and that starts with a smooth review process.
To avoid the common mistakes that get apps rejected, run through this pre-submission checklist.
- Internalize Apple's Guidelines: Don't just skim them—read the official App Store Review Guidelines from top to bottom. Most rejections I've seen come from simple, avoidable things like placeholder content or broken links.
- Get Your Metadata Ready: This is all your App Store Optimization (ASO) work from the pre-launch phase coming to fruition. Finalize your app name, subtitle, description, keywords, and have your privacy policy URL handy.
- Create Your Visuals: You need polished, high-quality screenshots for every supported device size. Your app icon needs to be perfect and meet Apple's specs. If you have the time, an app preview video can make a huge difference.
- One Last Round of Testing: Do a final, exhaustive test run. Hunt down any remaining crashes, bugs, or performance hiccups. A buggy app is an almost guaranteed rejection.
Once you hit "Submit," the review usually takes 24-48 hours, but it can take longer, especially for your first app. If you get rejected, don't sweat it. Apple will tell you why. Read their feedback, fix the issue, and resubmit. For a deeper dive, we put together a complete guide on how to successfully launch an app on the App Store that walks you through every detail.
Driving Growth and Retention After Launch Day
Getting your app live on the store feels like crossing the finish line, but in reality, you've just made it to the starting line. The real work starts now. That launch-day buzz is fantastic, but it's the long-term commitment to understanding, engaging, and keeping your users that will determine if your app thrives or just disappears.
Without a solid plan for what comes next, even the most brilliant apps can fizzle out. The first 24 hours are intense, sure, but the weeks and months that follow truly define your app's future. It's time to shift your mindset from "builder" to "growth operator." And your new best friend in this journey? Data.
Diving into User Analytics
You can't fix what you can't see. Your first stop should always be App Store Connect Analytics, Apple’s own tool for tracking how people find and use your app. Think of it as a goldmine of insights—and learning to navigate it is essential for anyone serious about growth.
It's easy to get sidetracked by vanity metrics like total downloads. Instead, zero in on the data that actually tells you a story about user behavior.
- Impressions vs. Product Page Views: This ratio reveals how well your app icon and name grab attention in search results. Seeing tons of impressions but very few page views? That’s a strong hint your icon or title might need a redesign.
- Conversion Rate: This is the big one—the percentage of people who see your App Store page and actually tap "Get." If this number is low, your screenshots, preview video, or description probably aren't doing their job.
- Sessions and Active Devices: Forget raw download numbers for a minute. These metrics show how many people are actually opening your app and how often. This is a far better indicator of a healthy, growing user base.
Keeping a close eye on these key performance indicators (KPIs) helps you spot problems early and jump on opportunities before they pass you by. It's the foundation of a data-driven growth strategy.
Creating a Powerful Feedback Loop
Analytics show you what your users are doing, but only direct feedback can tell you why. You need to build a system for listening to your audience, and I don't just mean waiting for bug reports. This is about making your users feel like partners in your app's evolution.
Your earliest users are your most valuable asset. They are the ones who will tell you what's broken, what's missing, and what they'd gladly pay for. Ignoring their feedback is one of the fastest ways to fail.
Make it a daily habit to read your App Store reviews—the good, the bad, and the ugly. Respond to as many as you can, especially the critical ones. A genuine, helpful response can often turn a one-star review into a five-star update. Also, set up a dedicated support email or, even better, an in-app feedback form. Giving users a direct, easy way to talk to you is priceless. After all, user retention is a massive part of any successful user acquisition strategy for your app.
Engaging and Re-engaging Your Audience
Here’s a stat that should get your attention: acquiring a new user can cost five times more than keeping an existing one. This is exactly why your focus needs to shift from pure acquisition to engagement and retention. Your best tools for the job are well-timed push notifications and thoughtful in-app messages.
The key is to avoid spammy, generic blasts. Instead, use personalized messages triggered by what a user does (or doesn't do). For example, did someone sign up but not complete their profile after three days? A gentle, helpful reminder can bring them right back into the fold. This approach lets you constantly refine the user experience, boost your ratings, and build a loyal community that will become the engine for your app's long-term success.
Got Questions? We've Got Answers
Even with the best roadmap, you're bound to have some questions pop up. It's totally normal. Getting straight answers to these common sticking points can make the whole app launch process feel a lot less intimidating, especially for first-time founders.
Let's dive into some of the questions I hear most often.
So, What's the Real Cost to Launch an App?
This is the big one, and the honest answer is: it depends. There’s no single price tag.
You could get a simple app off the ground with no-code tools for just a few thousand dollars. On the other end of the spectrum, a complex app with a custom backend, slick animations, and tons of features can easily run you over $250,000.
What drives that cost? It usually boils down to a few key things:
- Design Complexity: Are you using standard iOS components or designing a completely custom, unique user experience? The latter costs more.
- Feature Set: Every single feature, from user logins to push notifications, adds to the development timeline and budget.
- Who's Building It: A solo freelancer will charge differently than a full-scale development agency with project managers and QA testers.
- The Launch Itself: Don't forget to budget for marketing! Your spending on ads, content, and promotion after you hit "publish" is a crucial part of the cost.
How Long Does the App Store Review Actually Take?
Apple has gotten surprisingly fast here. They say around 90% of app submissions get reviewed within 24 to 48 hours, which is great for keeping your momentum going.
But—and this is a big but—you should never count on that speed. Plan for delays. First-time submissions often get a closer look, and if your app involves things like in-app purchases or health data, expect more scrutiny. I always tell people to budget at least a week for the review process. That gives you a cushion if you get rejected and need to fix things and resubmit.
"A classic rookie mistake is submitting your app the night before your big launch day. Build a buffer into your timeline. An unexpected rejection can completely throw off your marketing push if you haven't planned for it."
What Are the Top Reasons for an App Store Rejection?
Getting rejected feels like a setback, but it's a super common part of the game. The good news is that most rejections are completely avoidable.
The most frequent culprits are pretty simple: software bugs, broken links, or incomplete information in your listing (like forgetting your privacy policy or not having the right screenshots).
Other big no-nos include leaving placeholder text or images in your app and, of course, ignoring Apple's Human Interface Guidelines. Seriously, read them. Taking an hour to do a final pre-submission check against Apple's official list can save you days of waiting.
Ready to nail your app's monetization right from the start? With Nuxie, you can build, test, and launch high-converting paywalls in minutes—without waiting for another App Store review. See how Nuxie can boost your subscription revenue.