How to Get an App Made A Founder's Guide
Learn how to get an app made with this expert guide. We cover idea validation, development paths, budgeting, and launch strategies for aspiring founders.
So, you've got a great idea for an app. That's the first spark. But how do you get that app made? It’s a process that takes you from a raw idea to a validated concept, through a detailed blueprint, into development, and finally, onto the app stores.
This journey is part strategic planning and part technical execution. You have to nail each stage to avoid some seriously expensive missteps down the road.
From App Idea to Viable Business Concept
Every killer app starts with a simple thought, but an idea alone won't get you very far. The most important part of this whole adventure is turning that initial spark into a business concept that actually has legs.
So many people get excited and jump straight into development. Don't do it. Skipping this foundational work is like building a house without a blueprint—it’s a recipe for disaster. This is where you prove that people don't just like your idea; they genuinely need it.
This early phase is all about validation and strategy. You're moving past brainstorming and into the real work of confirming your app has a place in a very crowded market. And what a market it is.
The global mobile application development market was valued at around USD 252.89 billion in 2023 and is expected to explode to USD 626.39 billion by 2030. With the Apple App Store alone pulling in over 62% of global app revenues, the opportunity is massive. But so is the competition.
Define Your Target Audience with User Personas
Before a single line of code gets written, you need to know exactly who you're building this for. Creating detailed user personas isn't just a nice-to-have; it's essential. A user persona is a fictional character you create to represent your ideal customer, complete with their own goals, motivations, and frustrations.
Let's say you're building a new budgeting app. Your personas might look something like this:
- "Frugal Fiona": A 24-year-old recent grad buried in student loan debt. She needs a super simple, no-frills way to track every single dollar she spends.
- "Busy Brian": A 45-year-old dad of three. He's juggling work and family and needs to manage household expenses fast, without a steep learning curve.
These personas become your north star. They guide every decision you make, from which features to build first to the look and feel of the app, ensuring you're solving real problems for real people.
Analyze the Competition to Find Your Edge
Your app isn’t going to live in a bubble. Get on the App Store and Google Play and start digging into your competitors. Download their apps. Read their reviews—especially the bad ones. What are they doing well? Where are they falling short? The goal here isn't to copy them, but to find a gap in the market that your app can fill.
I've found that the best insights often come from user complaints. If you see dozens of reviews for a competitor's app complaining about a clunky interface or a missing feature, that's your golden ticket.
This research helps you nail down your Unique Value Proposition (UVP). Your UVP is a short, punchy statement that clearly explains what makes your app different and why someone should choose it over all the others. For a new meditation app, a UVP could be: "The only meditation app that creates personalized sessions based on your real-time stress levels."
This infographic shows how this whole foundational process flows, from that first spark to a fully-formed concept.
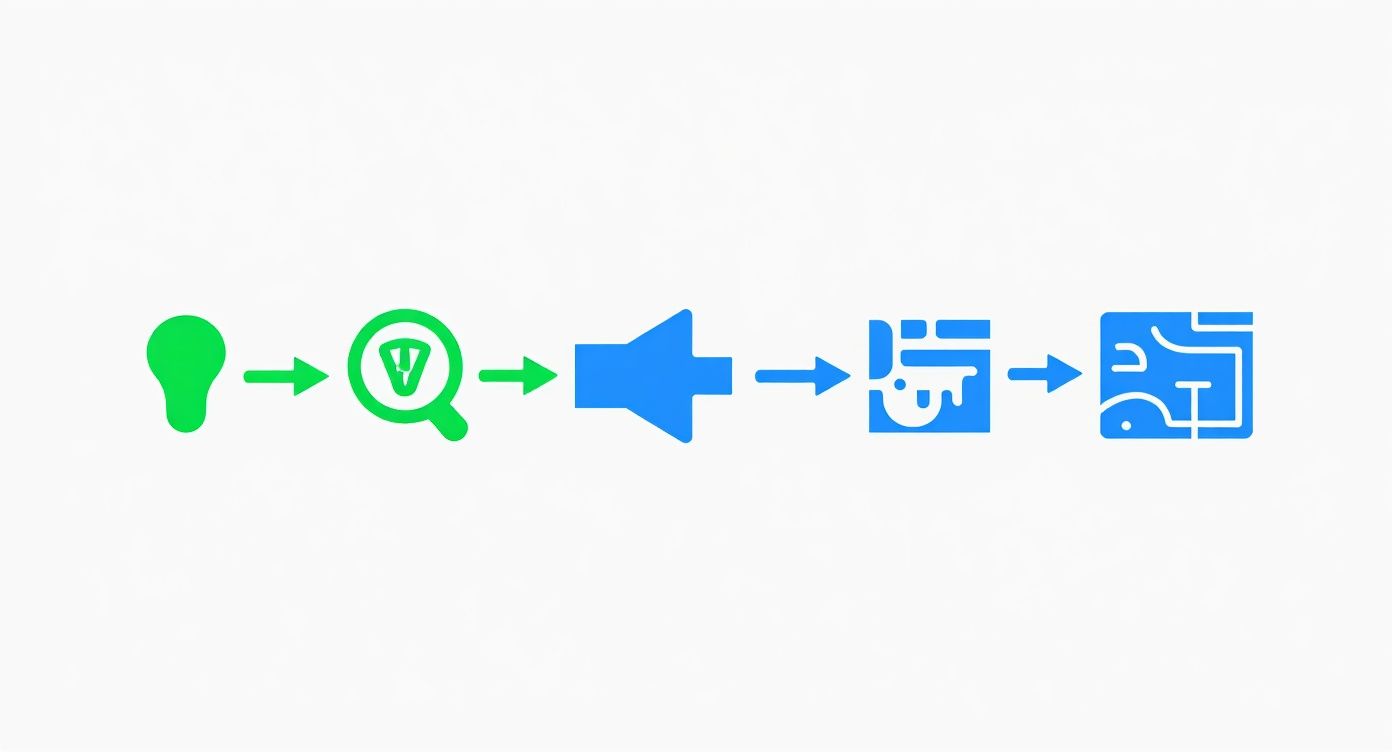 Seeing it laid out like this really drives home how each step builds on the last, saving you a ton of headaches later.
Solidify Your Core Concept with User Stories
Okay, you know your audience and what makes you special. Now it’s time to get specific about what your app will actually do. This is where user stories come in. They’re simple sentences that frame a feature from the user’s point of view, using a classic format: "As a [type of user], I want to [perform an action] so that I can [achieve a goal]."
For our budgeting app, a user story might be: "As Frugal Fiona, I want to scan receipts with my camera so that I can log expenses without typing everything in."
By creating a list of these stories, you build a backlog of features that are directly tied to the needs of your users. We cover this in more detail in our guide on how to create an app for the App Store. Getting this groundwork right makes the transition into design and development so much smoother.
Creating Your App's Blueprint and User Journey

Alright, your app idea is solid and you've confirmed people actually want it. Now it's time to get it out of your head and onto paper—or, more likely, a screen. This is the architectural phase, where you translate abstract concepts into a concrete plan for your designers and developers.
Trust me, you don't want to skip this. Winging it is a recipe for disaster, leading to scope creep, blown budgets, and a final product that feels cobbled together.
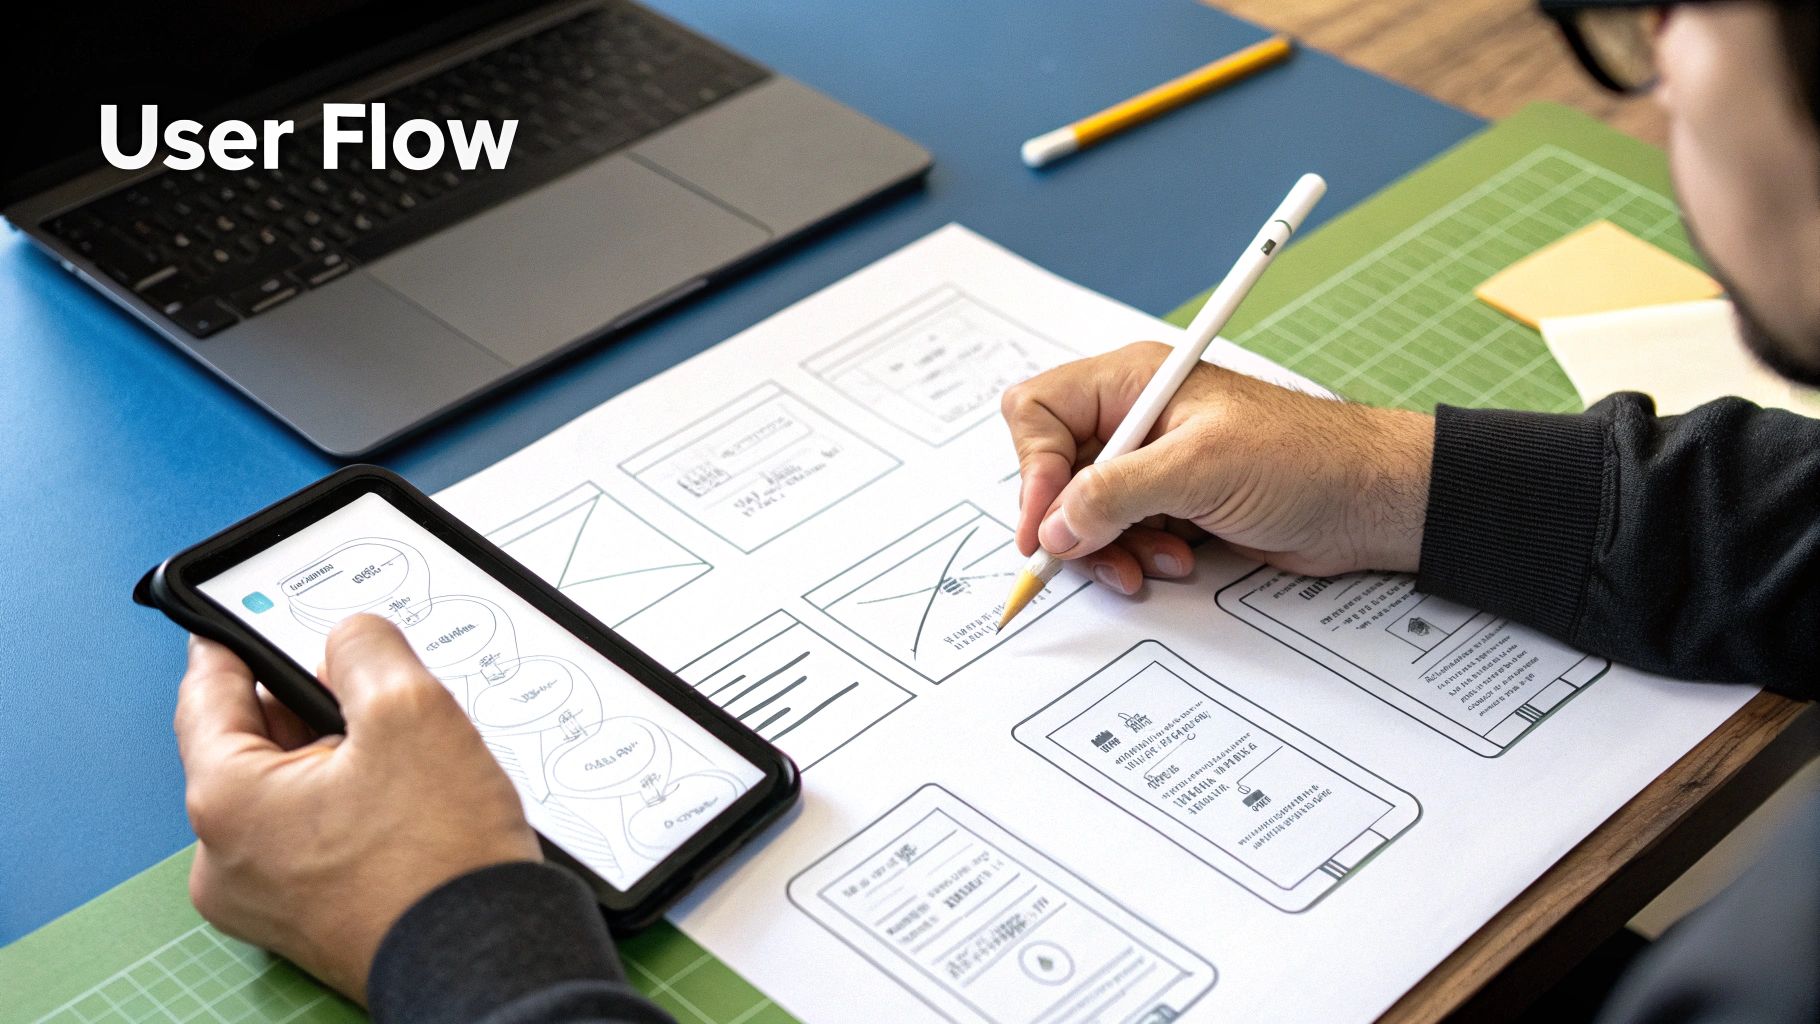
The first piece of this puzzle is mapping out the user flow. Think of this as the GPS for your app. It's a visual diagram that shows every single path a user can take, from the moment they launch the app to the second they accomplish their goal.
For a food delivery app, for example, the flow would map every tap: opening the app -> searching "pizza" -> adding a pepperoni pizza to the cart -> entering payment info -> confirming the order. This forces you to think through every screen and interaction, making sure the user’s journey is intuitive, not frustrating.
Building the Skeleton with Wireframes
Once the user flows are clear, you can start building wireframes. These are the bare-bones, black-and-white layouts of each screen. The goal here is pure function over form. You're not worried about colors or fonts yet; you're just figuring out where the buttons, text, and images will go.
Wireframing is deliberately simple. It keeps you focused on usability and the core structure of your app without getting sidetracked by pretty visuals. You're essentially building the skeleton before you add any muscle.
You can start with a pen and paper, but digital tools are where you'll want to end up. Here are a few I've used and can recommend:
- Figma: The undisputed industry standard. It's powerful, collaborative, and has a great free tier to get you started.
- Balsamiq: I love Balsamiq for its sketchy, hand-drawn feel. It constantly reminds you and your team that you're focusing on structure, not final design.
- Whimsical: A fantastic tool for keeping everything in one place—your wireframes, flowcharts, and notes can all live together.
This process is a lifesaver for catching usability problems early. It's infinitely cheaper to move a few boxes around in a wireframe than it is to have a developer rewrite code down the line.
Defining Your Minimum Viable Product (MVP)
After mapping flows and wireframing, you'll probably have a feature list that's a mile long. This is completely normal. The trap, however, is trying to build everything at once. This is where the concept of a Minimum Viable Product (MVP) becomes your best friend.
An MVP isn't a buggy or half-baked app. It’s the simplest, most streamlined version of your product that solves the core problem for your target user. It has just enough features to be genuinely useful and attract those crucial early adopters.
An MVP is all about learning. The goal is to get something real into users' hands as fast as possible to see if your core assumptions are correct. The feedback you get is gold.
To nail down your MVP, you have to be ruthless with prioritization. One of the best ways to do this is with the MoSCoW framework. It helps you sort every feature into one of four buckets:
- Must-Have: These are non-negotiable. Without them, your app simply doesn't work. (e.g., in a ride-sharing app, the ability to actually book a ride).
- Should-Have: Important features that add a lot of value, but the app can launch without them. Think of these as top priorities for your first big update.
- Could-Have: These are the "nice-to-have" features that would be cool but aren't essential.
- Won't-Have (This Time): Features you explicitly decide to leave out of the initial launch to keep things focused.
This forces you to make tough but necessary decisions. The result is a focused launch plan that respects your budget and positions you to gather the real-world user data you need to grow effectively. With this blueprint in hand, you're ready for the next big decision: choosing how you'll actually build the app.
Choosing Your Development Path and Building a Team
Alright, you've got the blueprint for your app and a solid MVP scope. Now you're at a critical fork in the road. How you decide to build the app is just as important as what you’re building. This decision will shape your budget, your timeline, and the final quality of what you ship to users.
You generally have three ways to go: hire a freelancer, partner with an agency, or dive into the world of no-code. Each path has its own set of trade-offs. The right choice really boils down to your app's complexity, your budget, and how hands-on you want to be.
Hiring a Freelancer
Going the freelance route can be a fantastic move, especially if you're on a tight budget or just need to get a straightforward MVP off the ground. Sites like Upwork and Toptal have made it incredibly easy to find talented developers from all over the world at very competitive rates.
This approach gives you a ton of flexibility. Need an iOS pro who lives and breathes Swift for a three-month contract? You can find them. It's a really cost-effective way to get an app built when your requirements are clear and contained.
The catch? You are the project manager. All of it—vetting candidates, setting deadlines, and making sure your designer and developer are on the same page—lands on your plate. If you're a first-time founder, this can get overwhelming fast.
Partnering with a Development Agency
If your app is complex, relies on a heavy-duty back-end, or needs long-term maintenance, an agency is usually the smarter bet. When you hire an agency, you're getting an entire team in one package: project managers, UI/UX designers, developers for both front-end and back-end, and QA testers.
This all-in-one setup solves the management headache. You get a single point of contact, and the team already has a rhythm for working together, which makes the whole process smoother. Agencies are built to tackle ambitious projects, from crafting custom APIs to locking down enterprise-grade security.
The real value of an agency is accountability. You're not just hiring individuals; you're partnering with a business whose reputation is on the line. They're invested in delivering a polished, working product on time and on budget.
The obvious downside is the price tag. An agency is the most expensive option by a long shot, with project costs often starting in the tens of thousands of dollars. For a bootstrapped startup, that can be a non-starter.
Using No-Code and Low-Code Platforms
This third option has completely changed the game, particularly for non-technical founders. No-code and low-code platforms like Bubble, Adalo, and FlutterFlow let you build some surprisingly powerful apps with visual, drag-and-drop tools.
This isn't some fleeting trend; it’s a real shift in how software gets made. It opens up app development to anyone with a great idea, allowing you to build a functional product without writing a line of code. It's no wonder that Gartner predicts that by 2025, a massive 70% of new applications will be built using these tools. You can dig into the latest mobile app statistics to see just how much the industry is evolving.
For building an MVP, validating a concept, or creating internal business tools, no-code is an incredibly fast and affordable choice. You can go from an idea to a working app in a matter of weeks, not months.
Of course, there are limitations. You are working within the platform's ecosystem, which means you might hit a wall when it comes to performance, scalability, or highly custom features. If your app needs to juggle a massive user base or integrate with unique hardware, traditional code is still the undisputed king.
So, how do you make the call? Here's a quick breakdown to help you decide:
| Factor | Freelancer | Agency | No-Code Platform |
|---|---|---|---|
| Best For | Simple MVPs, specific tasks, tight budgets | Complex apps, long-term projects | Rapid prototyping, validation, internal tools |
| Cost | $ (Low to Medium) | $$$ (High) | $ (Low) |
| Timeline | Medium | Long | Short |
| Management | High (You manage everything) | Low (Handled by the agency) | Medium (You build it yourself) |
Ultimately, your situation dictates the best path. A solo founder with a straightforward app idea might find a great freelance partner. A well-funded startup with big ambitions should probably look at an agency. And if you're an entrepreneur who just needs to test an idea without risking a huge investment, you should absolutely be exploring no-code.
Getting Into the Nitty-Gritty: The App Development and Build Process
With your blueprint signed off and the team assembled, you've hit the most intensive part of the journey: the actual development. This is where all those wireframes, user stories, and design files start to become a real, functioning product. It’s a dynamic, hands-on phase that hinges on clear communication and a smart technical approach.
One of the first big conversations you'll have with your development team is about the core technology. The choice between native and cross-platform development is a foundational one, directly impacting your budget, timeline, and the app's ultimate performance.
Native vs. Cross-Platform: A Critical Fork in the Road
A native app is built from the ground up for a single operating system. Think of it like a tailor-made suit. For iOS, developers will use languages like Swift or Objective-C; for Android, they'll turn to Kotlin or Java.
The major advantage here is performance. Native apps are incredibly fast, reliable, and can tap into every single feature of a device—from the camera to the GPS—without a hitch. The trade-off? If you want your app on both iPhones and Android devices, you're essentially building and maintaining two separate products. That means double the work and, you guessed it, double the cost.
This is where cross-platform development comes in as a powerful alternative. Using frameworks like React Native or Flutter, developers can write a single codebase that runs on both iOS and Android. It's an incredible efficiency boost that can slash development costs and get your app to market much faster.
But there are compromises. Cross-platform apps sometimes can't quite match the silky-smooth performance of a native build. For many apps, especially those focused on content or straightforward utility, this is a perfectly acceptable trade-off for the speed and cost savings.
How We Build: The Agile Development Workflow
The old "waterfall" method—where developers would disappear for six months and emerge with a supposedly finished product—is a thing of the past. Today, modern development is all about agile methodology. It’s an iterative approach that breaks down the monumental task of building an app into small, manageable pieces.
Work is organized into sprints, which are short, focused bursts of activity, usually lasting two weeks. In each sprint, the team commits to building a small batch of features from the project backlog. This keeps the project in a constant state of forward motion and makes it easy to pivot when you get new feedback or ideas.
The agile process is built on a few key rituals:
- Daily Stand-ups: Quick, 15-minute check-ins where everyone shares what they worked on yesterday, what’s on their plate today, and any roadblocks they're hitting.
- Sprint Reviews: At the end of each sprint, the team demos the new, working features. This is your moment to see real progress and give immediate input.
- Retrospectives: A candid team meeting to discuss what went well in the sprint and what could be done better next time. It’s all about continuous improvement.
Agile is more than just a project management system; it’s a mindset. It’s about building, getting feedback, and learning in a continuous cycle. This loop is your best defense against spending months building something nobody wants.
Front-End vs. Back-End: Understanding Your App's Anatomy
As you get deeper into the build, you’ll hear the terms "front-end" and "back-end" thrown around a lot. It’s really helpful to know what they mean.
The front-end is everything the user can see and touch. It’s the buttons, the menus, the animations, the entire user interface. This is often called the "client-side."
The back-end is the invisible engine that makes it all work. It consists of the server, the database, and all the application logic that handles user accounts, processes data, and talks to other services. This is the "server-side."
Think about signing up for a new account. The front-end is the form you fill out. When you hit "Submit," the back-end takes over—it securely validates your information, creates an entry in the database, and sends a confirmation back to the front-end to log you in. The two sides communicate constantly through APIs (Application Programming Interfaces).
Keeping the Train on the Tracks with Project Management Tools
To keep this complex process from spiraling into chaos, teams rely on project management software. Tools like Jira, Trello, or Asana are indispensable for tracking tasks, visualizing progress, and keeping everyone in sync.
Tasks (or "tickets") are moved across a board from a "To Do" column to "In Progress" and finally to "Done." This gives everyone, including you, a crystal-clear, real-time view of where things stand. This level of organization is crucial for building a quality product. After all, the average smartphone user in the United States uses around 39 different apps monthly, a testament to how integral well-built applications are to daily life. You can dive deeper into these and other fascinating mobile app statistics from Itransition.
Testing Your App and Launching with Confidence

The code is written, the features are locked in, and your app looks just like the designs. It's an exciting moment, and the temptation to sprint across the finish line is real. But hold on. This next phase is the gatekeeper between a professional product and a frustrating mess for your users.
Let's be blunt: rushing or skipping quality assurance (QA) is one of the most common and damaging mistakes you can make. A buggy launch day can unleash a torrent of one-star reviews that are nearly impossible to climb back from.
Putting Your App Through Its Paces
Quality assurance isn't a single checkbox; it's a whole strategy for hunting down and fixing problems from every conceivable angle. While your development team will drive this process, it's vital you understand what's happening under the hood.
The Core Testing Trio
The process really boils down to three key areas:
Functional Testing: This is the most straightforward part. Does everything work? When a user taps "Add to Cart," does the item actually land in the cart? We're talking about testing every single button, link, and user journey to confirm it performs its intended function without a hitch.
Usability Testing: Now, it's time to get your app in front of real people. The key is to find users who match your target audience but have never seen the app before. You're not looking for crashes here; you're looking for confused faces. Do they understand what that icon means? Can they intuitively find the settings? Fresh eyes will immediately spot confusing design choices you've become blind to.
Performance Testing: This is where you see how the app holds up under pressure. What happens on a spotty Wi-Fi connection? How much battery does it chew through after 30 minutes of use? An app that’s slow, unresponsive, or a battery hog is a fast track to getting uninstalled.
Preparing for the App Store Spotlight
Once your app is stable and polished, the focus shifts to preparing it for its grand entrance. Your app store listing is your digital storefront, and you need to make it compelling. This isn't just about filling out some fields; it's arguably your most important piece of marketing copy.
Your app's presence on the store is built on a few core components:
- App Title: It should be memorable, sure, but try to include a primary keyword if it feels natural. So instead of just "FitTrack," something like "FitTrack: Workout Planner" works much harder for you.
- Description: This is your sales pitch. The first few lines are critical for hooking a potential user with your unique value. From there, weave in your main keywords naturally to help people find you.
- Screenshots & Previews: Humans are visual creatures. Your screenshots need to be sharp, clean, and highlight the absolute best parts of your app in action. Think of it as telling a visual story about what makes your app so great.
This whole process is called App Store Optimization (ASO). It's essentially SEO for mobile apps. Nailing your keywords, title, and visuals can massively boost your organic downloads without you spending an extra dime on ads.
Navigating the Submission Process
Submitting your app to Apple’s App Store and the Google Play Store can feel like a final exam. Both have strict guidelines, and getting rejected is a rite of passage for many first-time developers. The review can take anywhere from a day to over a week, so don’t leave this to the last minute.
Apple, in particular, has a reputation for its meticulous review process. The most common reasons for rejection are crashes, bugs, missing information in the submission forms, or just a plain bad user interface. Google is generally a bit more relaxed, but they'll still slam the door on apps that violate their content policies or offer a fundamentally broken experience.
A smarter way to approach this is with a soft launch. This means releasing your app in a smaller, lower-stakes market first—think a country like New Zealand or Ireland. This strategy allows you to gather real-world performance data, catch any bugs you missed, and refine your marketing message before the big push.
For a deeper dive into this strategy, our guide on planning a successful mobile application launch is a great resource. It’s all about launching with confidence, knowing your app is truly ready for its moment.
Answering Your Top App Creation Questions
When you're first figuring out how to get an app made, a few big questions always pop up. It usually boils down to time, money, and whether you need to be a coding genius to pull it off. Getting a handle on these from the start helps turn a vague idea into a real, actionable plan.
Let’s dive into the questions I hear most often from founders.
How Much Does It Really Cost to Get an App Made?
This is the million-dollar question, isn't it? The honest answer is, "it depends." I've seen simple apps come to life for a few thousand dollars and complex platforms soar well into six figures. The final price tag is a direct reflection of your app's complexity, feature list, and who you hire to build it.
Here’s a rough breakdown to give you a better idea:
- No-Code Platforms: If you're building a straightforward app using a tool like Bubble or Adalo, you could potentially keep your costs under $10,000.
- Freelance Developers: For a solid Minimum Viable Product (MVP) built by a freelancer or a small team, you're likely looking at a range of $15,000 to $40,000.
- Development Agencies: Building a sophisticated app with a custom back-end, slick UI, and the need for ongoing support? Agency projects generally start around $50,000 and can easily push past $150,000.
Remember, the scope of your MVP is the most powerful lever you have for controlling these initial costs. Keep it lean.
How Long Does the App Development Process Take?
Building a great app is a marathon, not a sprint. A realistic timeline, from that first spark of an idea to seeing your app live in the stores, is usually somewhere between 4 and 9 months. It can feel like an eternity, but rushing any of the stages is a recipe for a buggy, frustrating product.
Let's look at what that timeline actually involves:
- Planning and Design (1-2 months): This is where you do your homework—market research, wireframing, and locking in the UI/UX design.
- Development and Testing (3-6 months): The heavy lifting happens here. This is the longest phase, covering all the front-end and back-end coding, followed by a whole lot of testing to squash bugs.
- Launch Prep (2-4 weeks): This final push involves getting your app store listings perfect, creating marketing materials, and navigating the dreaded submission and review process.
Do I Need to Know How to Code?
Absolutely not. I can't stress this enough. While knowing your way around code is helpful for managing a technical team, most successful founders I've met are not developers. Your deep understanding of the problem you're solving is infinitely more valuable.
The rise of no-code platforms has completely changed the game. You no longer need a computer science degree to build a powerful, market-ready application. Your vision and your strategy are the most critical assets you bring to the project.
You have plenty of options if you're a non-technical founder:
- Hire talented freelance developers or a dedicated agency to bring your vision to life.
- Find a technical co-founder who can own the development side of things.
- Use a no-code platform to build the app yourself with intuitive, drag-and-drop tools.
What Are the Ongoing Costs After Launch?
Your budget doesn't get to breathe a sigh of relief once the app goes live. Post-launch expenses are a real and crucial part of your financial plan. A good rule of thumb is to budget 15-20% of your initial development cost for annual maintenance and upkeep.
So, what are you paying for?
- Server Hosting: This is the rent for your app's home on the internet.
- Third-Party Services: Think fees for payment gateways like Stripe, analytics tools, or push notification providers.
- Updates and Bug Fixes: Apple and Google are always updating their operating systems, and your app needs to keep up. This is non-negotiable.
- Marketing and User Acquisition: An app with no users is just a hobby. You need a dedicated budget to get people to actually find and download it. For more on this, you can learn about creating a solid user acquisition strategy for your app.
At Nuxie, we focus on helping you perfect one of the most critical parts of your app's success: monetization. Our AI-powered platform allows you to design, target, and ship high-converting paywalls in minutes, all without needing to submit a new app update. Discover how Nuxie can help you grow your subscription revenue.