A Developer's Guide to Purchase in App iOS
Master the purchase in app iOS process with our complete guide. Learn to set up StoreKit, validate receipts, and build effective paywalls for your app.
Getting your purchase in app ios flow right is one of the most critical parts of monetizing your app. It’s a mix of setting up your products in App Store Connect, wiring up Apple's StoreKit framework to show them off, and then building a secure way to handle transactions and unlock features for your users. This whole process demands both careful planning on the business side and clean code on the development side.
Laying the Groundwork for iOS In-App Purchases
Before you even think about writing a line of Swift, you have to get your hands dirty in App Store Connect. This isn't just a suggestion—it's a requirement. Without the backend configured properly, StoreKit simply won’t work. Think of it like building a house; you can't start framing the walls until the foundation is poured and solid.
This initial setup is mostly administrative. You'll need to provide Apple with all the necessary details to process payments and, more importantly, to pay you. This means signing agreements, linking your bank account, and submitting tax forms. It's a bit of a grind, but it’s the only way to legally accept money from your users.
Understanding Product Types
One of the first big decisions you'll make is choosing the right kind of in-app purchase for your feature. Apple gives you a few different flavors, each built for a specific kind of monetization strategy.
Before diving in, here’s a quick rundown of your options. Choosing the right one is key to matching your product to your revenue model.
In-App Purchase Types and Use Cases
| Purchase Type | Description | Common Use Case |
|---|---|---|
| Consumable | Items that are used once and can be purchased again. | In-game currency, extra lives, or hints. |
| Non-Consumable | A one-time purchase that unlocks a feature permanently. | Removing ads, unlocking a "pro" version, a photo filter pack. |
| Auto-Renewing Subscription | Grants access to content or services for a set period, renewing automatically. | Streaming services, access to premium features, news content. |
| Non-Renewing Subscription | Provides access for a fixed duration and must be manually repurchased. | A season pass for sports content or a 1-year archive access pass. |
Getting this choice right from the start will save you headaches later and align your app's user experience with its revenue stream.
Your choice of product type directly influences your app's revenue potential and user experience. Subscriptions create predictable recurring revenue, while non-consumables offer a straightforward value exchange.
The scale of this ecosystem is no joke. In 2025, consumer spending on Apple’s App Store reached a staggering $89.3 billion, with most of that coming from in-app purchases and subscriptions. That figure is more than double the Google Play Store's spending, which just goes to show how much opportunity there is on iOS.
Setting Up Your Products
With the paperwork out of the way, you can finally create your first in-app purchase. Every single item you sell needs its own unique Product ID. This is just a string that you define (something like com.yourapp.pro_monthly works well) and it’s how your app will ask StoreKit for product details and kick off a purchase.
You’ll also need to set the pricing tiers, display names, and descriptions that users will see on the App Store's native payment pop-up. For a more detailed look, you can check out this hands-on guide that walks through a complete https://nuxie.io/blog/in-app-purchase-example.
Integrating StoreKit and Fetching Your Products
Now that you’ve got your product IDs set up in App Store Connect, it’s time to pull that information into your app. This is where Apple's StoreKit framework enters the picture. Think of StoreKit as the essential bridge connecting your app to the App Store, handling everything from fetching product details to processing payments securely.
The very first thing you need to do is ask the App Store for the details of the products you want to sell. You’ll use the same product IDs you just created to make this request. Thankfully, modern StoreKit, especially with Swift's async/await syntax, makes this surprisingly simple.
Requesting Product Details from Apple
To grab your product info, you'll call the Product.products(for:) method. It’s an asynchronous function that takes your list of product ID strings and, if successful, hands you back an array of Product objects. These objects are packed with localized information pulled directly from Apple's servers.
This step is non-negotiable. You should never, ever hardcode prices or product titles directly into your app's code. That's a classic rookie mistake and a maintenance nightmare. Prices change, and you’ll likely support different regions with unique currencies and languages. StoreKit takes care of all that localization heavy lifting for you.
Here’s a quick look at what this request looks like in Swift:
import StoreKit
func fetchProducts() async { let productIDs = ["com.yourapp.pro_monthly", "com.yourapp.pro_yearly"] do { let storeProducts = try await Product.products(for: productIDs) // Now, update your UI with these products } catch { print("Failed to fetch products: (error)") // Handle the error gracefully, maybe show an alert } }
This small function is the heart of your paywall. It's how you tap into the massive commercial engine of the App Store.
And it is massive. The Apple App Store ecosystem facilitated nearly $1.3 trillion in total billings and sales as of 2024. About 10% of that ($131 billion) came directly from in-app purchases. That’s the scale you’re plugging into. You can dig into more of these numbers in Apple's global ecosystem report.
Handling States and Displaying Products
A solid in-app purchase flow has to handle different states gracefully. Your UI needs to clearly communicate what’s happening, whether products are loading, have loaded successfully, or an error popped up.
Think through the user experience for each scenario:
- Loading State: While the request is out, show a loading indicator. A simple
ProgressViewin SwiftUI does the trick. It prevents the user from staring at a blank screen and signals that your app is working. - Success State: Once you get the
Productobjects back, you can populate your paywall. Each object gives you the localizeddisplayName,description, anddisplayPriceto show the user. - Error State: If the user's network is down or the App Store is temporarily unavailable, the request will fail. You need to catch that error and display a friendly message, maybe with a "Try Again" button.
Pro Tip: Always build your paywall with these three states in mind from the start. A paywall that fails silently or just shows a blank white screen is one of the fastest ways to lose a sale. The goal is a smooth, trustworthy experience, even when things go sideways.
By fetching products dynamically and properly managing these states, you’re on your way to building a professional and reliable purchase screen that works well across different regions and network conditions.
Handling the Purchase Flow and Unlocking Content
So, you’ve got your products fetched and looking sharp on your paywall. Now for the make-or-break moment: handling the actual purchase. This is where the user taps that "buy" button, and your app needs to seamlessly manage the transaction and deliver the goods.
Kicking off the purchase is actually one of the simpler parts of the process. You take that Product object you worked with earlier and just call its purchase() method. That’s it. This single line of code is what prompts the familiar App Store payment sheet to slide up, asking the user to confirm with Face ID, Touch ID, or their password. From there, StoreKit handles all the heavy lifting of the payment itself.
Observing Transaction States
Once the user approves the payment, things don't just finish instantly. The purchase moves through a few different states, and your app needs to be listening for every update. This requires a dedicated, persistent observer.
This isn't just a minor detail; it's a core architectural choice. Your transaction observer has to be active from the moment your app launches. Why? Imagine a user buys something, but their internet connection drops before your app gets the confirmation. The next time they open your app, StoreKit will try to deliver that completed transaction again. If you're not listening, the user paid for something they never received.
A transaction can be in several states:
purchased,pending,failed, ordeferred. Thedeferredstate is a common one, especially in family apps where a child needs a parent's approval through Ask to Buy. Your UI has to account for this—you can't just leave the user hanging.
Securely Unlocking Features
When your observer gets a transaction with a purchased state, it's go-time. First, you need to verify the purchase is legitimate, which you should always do on your server to prevent tampering. Once it's verified, you can grant the user access.
This part has to feel instantaneous. Don't make the user wait.
- For Pro Features: If they upgraded to a "Pro" version, immediately hide all the "Upgrade" buttons and switch on the premium functionality.
- For Consumables: If they bought 100 gold coins, their balance should reflect that the second they return to the game.
- For Subscriptions: Unlock that premium content right away.
The final, crucial step is to call transaction.finish(). This signals to the App Store that you've processed the transaction and delivered the content. If you forget this, StoreKit will keep sending you the same completed transaction over and over, which can create a mess of bugs and confusion.
To handle related scenarios, you can learn more about how to define and restore purchases in our guide. This is especially important for non-consumable IAPs, as it ensures users can always get back the content they paid for, no matter which device they're on.
Securing Transactions with Server-Side Receipt Validation
If you're only using client-side logic to unlock paid features, you're leaving a massive security hole in your app. Think about it: once a user completes a purchase in app ios transaction, the App Store gives you a signed receipt. But on a jailbroken device, that receipt can be easily faked or manipulated. To protect your revenue and ensure every sale is legitimate, server-side receipt validation isn't just a "nice-to-have"—it's a must.
This extra step creates a single, secure source of truth for who has paid for what. Instead of your app making the call to unlock content, it simply asks your server. This immediately shuts down common fraud tactics like replay attacks or users trying to pass off a forged purchase confirmation.
Here’s a look at how this secure flow works in practice.
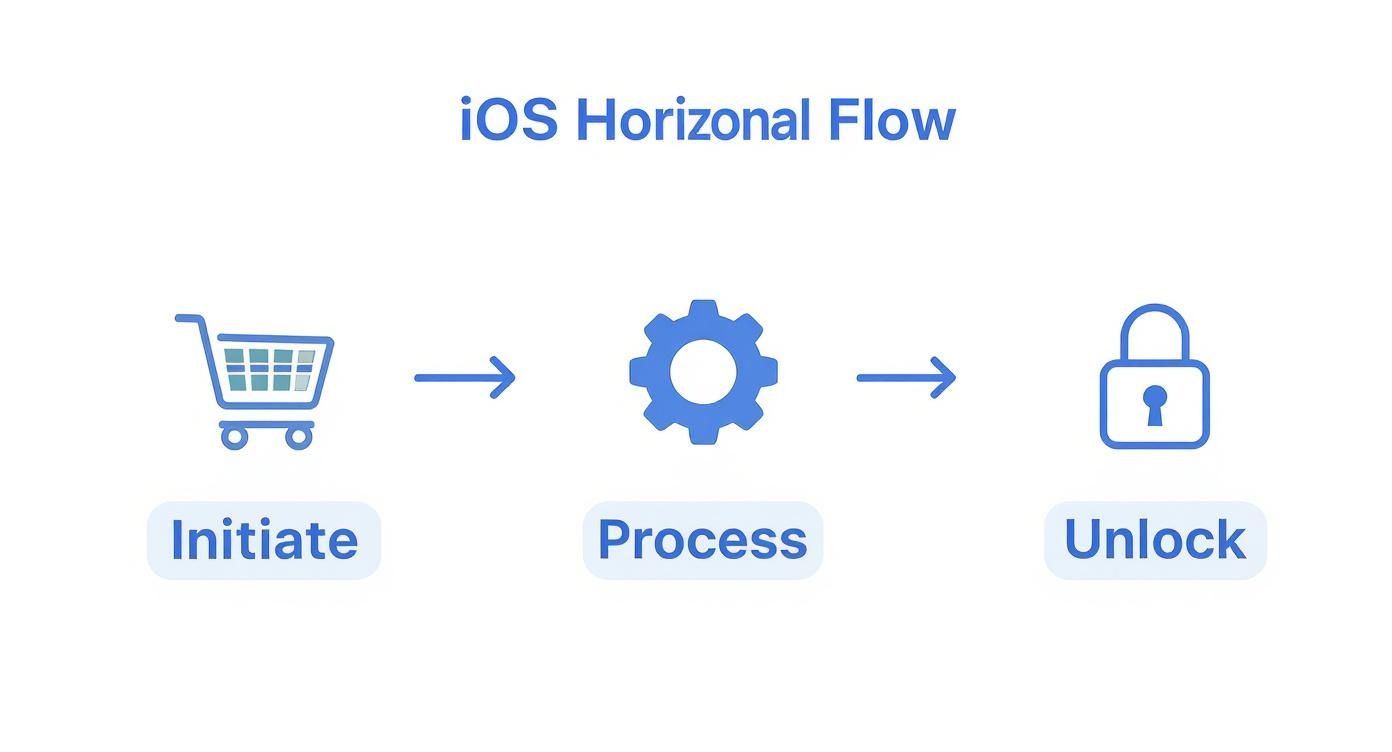
As you can see, the device starts the purchase, Apple processes it, but your server gets the final say on unlocking the content. It’s a clean, closed-loop system that you control.
The Validation Workflow
So, what does this look like in code? The process kicks off the second a transaction successfully completes in your app. At that point, your app grabs the encrypted receipt data from StoreKit and sends it straight to your backend.
Your server’s job is to take that blob of data and forward it to Apple's verifyReceipt endpoint. This is just a simple POST request that includes the receipt and, for auto-renewing subscriptions, your app's shared secret. Apple’s servers then do the heavy lifting: they decrypt the receipt, check its validity, and send back a clean JSON payload with all the transaction details.
This JSON response is your source of truth. It contains everything you need to confidently grant access:
product_id: Confirms the exact item the user bought.transaction_id: The unique ID for this specific purchase.purchase_date: The original transaction timestamp.expires_date: For subscriptions, this tells you precisely when their access runs out.
Once your server parses this response, it can update your own user database to officially grant the entitlement. From then on, your app just needs to check with your server to see if the user should have premium access. This also makes syncing their purchases across all their devices a breeze.
By making your server the single source of truth, you not only prevent fraud but also build a robust system for restoring purchases and managing cross-device access. It's the foundation of a scalable monetization strategy.
Protecting this process is critical, especially given the money on the table. iOS users consistently generate about 2.5 times more revenue per user from in-app purchases than their Android counterparts. In Q4 2024 alone, App Store consumer spending hit approximately $24.97 billion, with over 85% of that coming from subscriptions. You can read more about these iOS spending statistics on electroiq.com. That level of revenue potential is exactly why you can't afford to skip server-side validation.
Shipping your in-app purchase flow without hammering on it first is just asking for trouble. You absolutely cannot assume it will work flawlessly. This is where Apple's testing environments come in to save the day, letting you run through the entire purchase and subscription lifecycle without spending a dime.
The two main tools in your arsenal are the classic Sandbox environment and the newer local StoreKit testing in Xcode.
The Sandbox environment is basically a mirror of the live App Store. You'll create special "Sandbox Apple IDs" right inside App Store Connect. Think of these as fake user accounts that you can use on a real device to make test purchases. It’s perfect for checking things like initial subscriptions, renewals, cancellations, and even simulating weird edge cases like an interrupted purchase.
But, I'll be honest, the Sandbox can be a bit sluggish. It needs a network connection, and sometimes the subscription renewal timing can be unpredictable, which can make iterating on your paywall UI a real pain.
Faster Iteration with Local StoreKit Testing
For a much quicker development cycle, you should lean heavily on local StoreKit testing in Xcode. This is a game-changer. It lets you create a .storekit configuration file directly within your project, which essentially acts as a mini, offline App Store server on your Mac.
You can define all your products, set custom subscription durations, and simulate all sorts of transaction outcomes—like failed payments or asking for parental approval. Since it’s all local, the feedback is instant, and you don't even need an internet connection. This is my go-to for dialing in the user interface and squashing bugs in the purchase logic.
A solid testing strategy almost always uses both. We dive deeper into this combined approach in our comprehensive guide on app testing for iOS.
Pro Tip: I recommend doing 90% of your development with local StoreKit testing. It’s way faster and more predictable for day-to-day work. Save the Sandbox for that final round of testing on a physical device to catch anything specific to the real environment before you go live.
Here’s a look at the Sandbox Account section in App Store Connect. This is your command center for creating and managing those test user accounts.
Any account you set up here can be used to sign into the App Store on a test device. This lets you walk through your entire purchase flow just like a real user would, but with no money changing hands.
Key Scenarios to Test
Whether you're using the local setup or the Sandbox, you need to be methodical. Don't just test the "happy path" where a user sails through a purchase without a hitch. You need to simulate what really happens out in the wild.
- Successful Purchase: The user buys something and gets access right away. The basics.
- Failed Purchase: The payment gets declined. Does your app handle this gracefully with a clear error message, or does it just crash?
- Interrupted Purchase: The user gets a phone call or closes the app mid-transaction. Does the purchase get picked up and completed the next time they open the app?
- Subscription Renewal: Does your backend correctly process a renewal and extend access?
- Subscription Cancellation: What happens when a user cancels? Is their access correctly revoked at the end of the billing period?
- Restore Purchases: This is a big one. Can a user easily restore their active subscriptions and non-consumable purchases on a new phone?
By running through these scenarios, you'll build a monetization system that's not just functional, but also trustworthy and reliable for your users.
Frequently Asked Questions
Getting your purchase in app ios logic right involves navigating a few tricky spots. I've seen countless developers get tripped up by the same handful of issues, so let's walk through the most common questions and get you the answers you need to ship with confidence.
How Do I Handle Restoring Purchases?
This is a big one. You are required by Apple to give users a way to restore their previous non-consumable and subscription purchases. Forget this, and you're guaranteed a rejection from the App Store review team.
The good news is that it’s pretty straightforward. All you need is a "Restore Purchases" button, usually tucked away in your app's settings menu. When a user taps it, your code just needs to call SKPaymentQueue.default().restoreCompletedTransactions().
That single line of code kicks off a process where the App Store re-sends all of that user's eligible past transactions. Your app will then pick these up through your transaction observer, but this time with a state of .restored. From there, your job is to handle them just like a new purchase—unlocking the features they already paid for.
What Are the Most Common App Store Rejection Reasons?
Getting rejected is a rite of passage, but you can avoid the most common IAP-related pitfalls. Based on my experience, here are the top reasons reviewers will send you back to the drawing board:
- No "Restore Purchases" button: Seriously, this is the number one reason. If you sell anything that isn't a one-time consumable, you must have this button.
- Linking to other payment options: While the rules are slowly changing, you can't try to sidestep Apple's IAP for digital goods inside your app. Directing users to your website to pay is a classic no-go.
- Confusing descriptions: Your product descriptions have to be crystal clear. If a user doesn't know exactly what they're buying, your app will get flagged.
- A broken IAP flow: The App Store reviewer acts like a regular user. If they tap "Buy" and nothing happens or an error pops up in the sandbox environment, it’s an instant rejection. Test everything. Then test it again.
Can I Change the Price of an In-App Purchase?
You absolutely can, but how you do it depends on what you're selling.
For consumables and non-consumables, it's simple. Just head into App Store Connect, pick a new price tier, and the change usually goes live within a day.
For auto-renewing subscriptions, things get more complicated. When you adjust the price, you have to make a choice: does this new price apply to everyone, or just new subscribers? If you decide to raise the price for your existing subscribers, Apple will notify them and require they actively consent to the increase. If they ignore it or decline, their subscription won't renew. It will just expire.
A word of advice: If you're going to raise subscription prices, be transparent. An unexpected price hike is a surefire way to lose loyal customers. Explain why the price is going up—maybe you’ve added a bunch of valuable new features. A little communication goes a long way in keeping your subscribers happy.
Ready to build, target, and ship high-converting paywalls in minutes? With Nuxie, you can use an AI-powered studio to design on-brand paywalls without needing an app update. Integrate our lightweight Swift SDK in five minutes and start optimizing your subscription revenue today. Learn more at https://nuxie.io.